Hyperbolic Lace Spiral
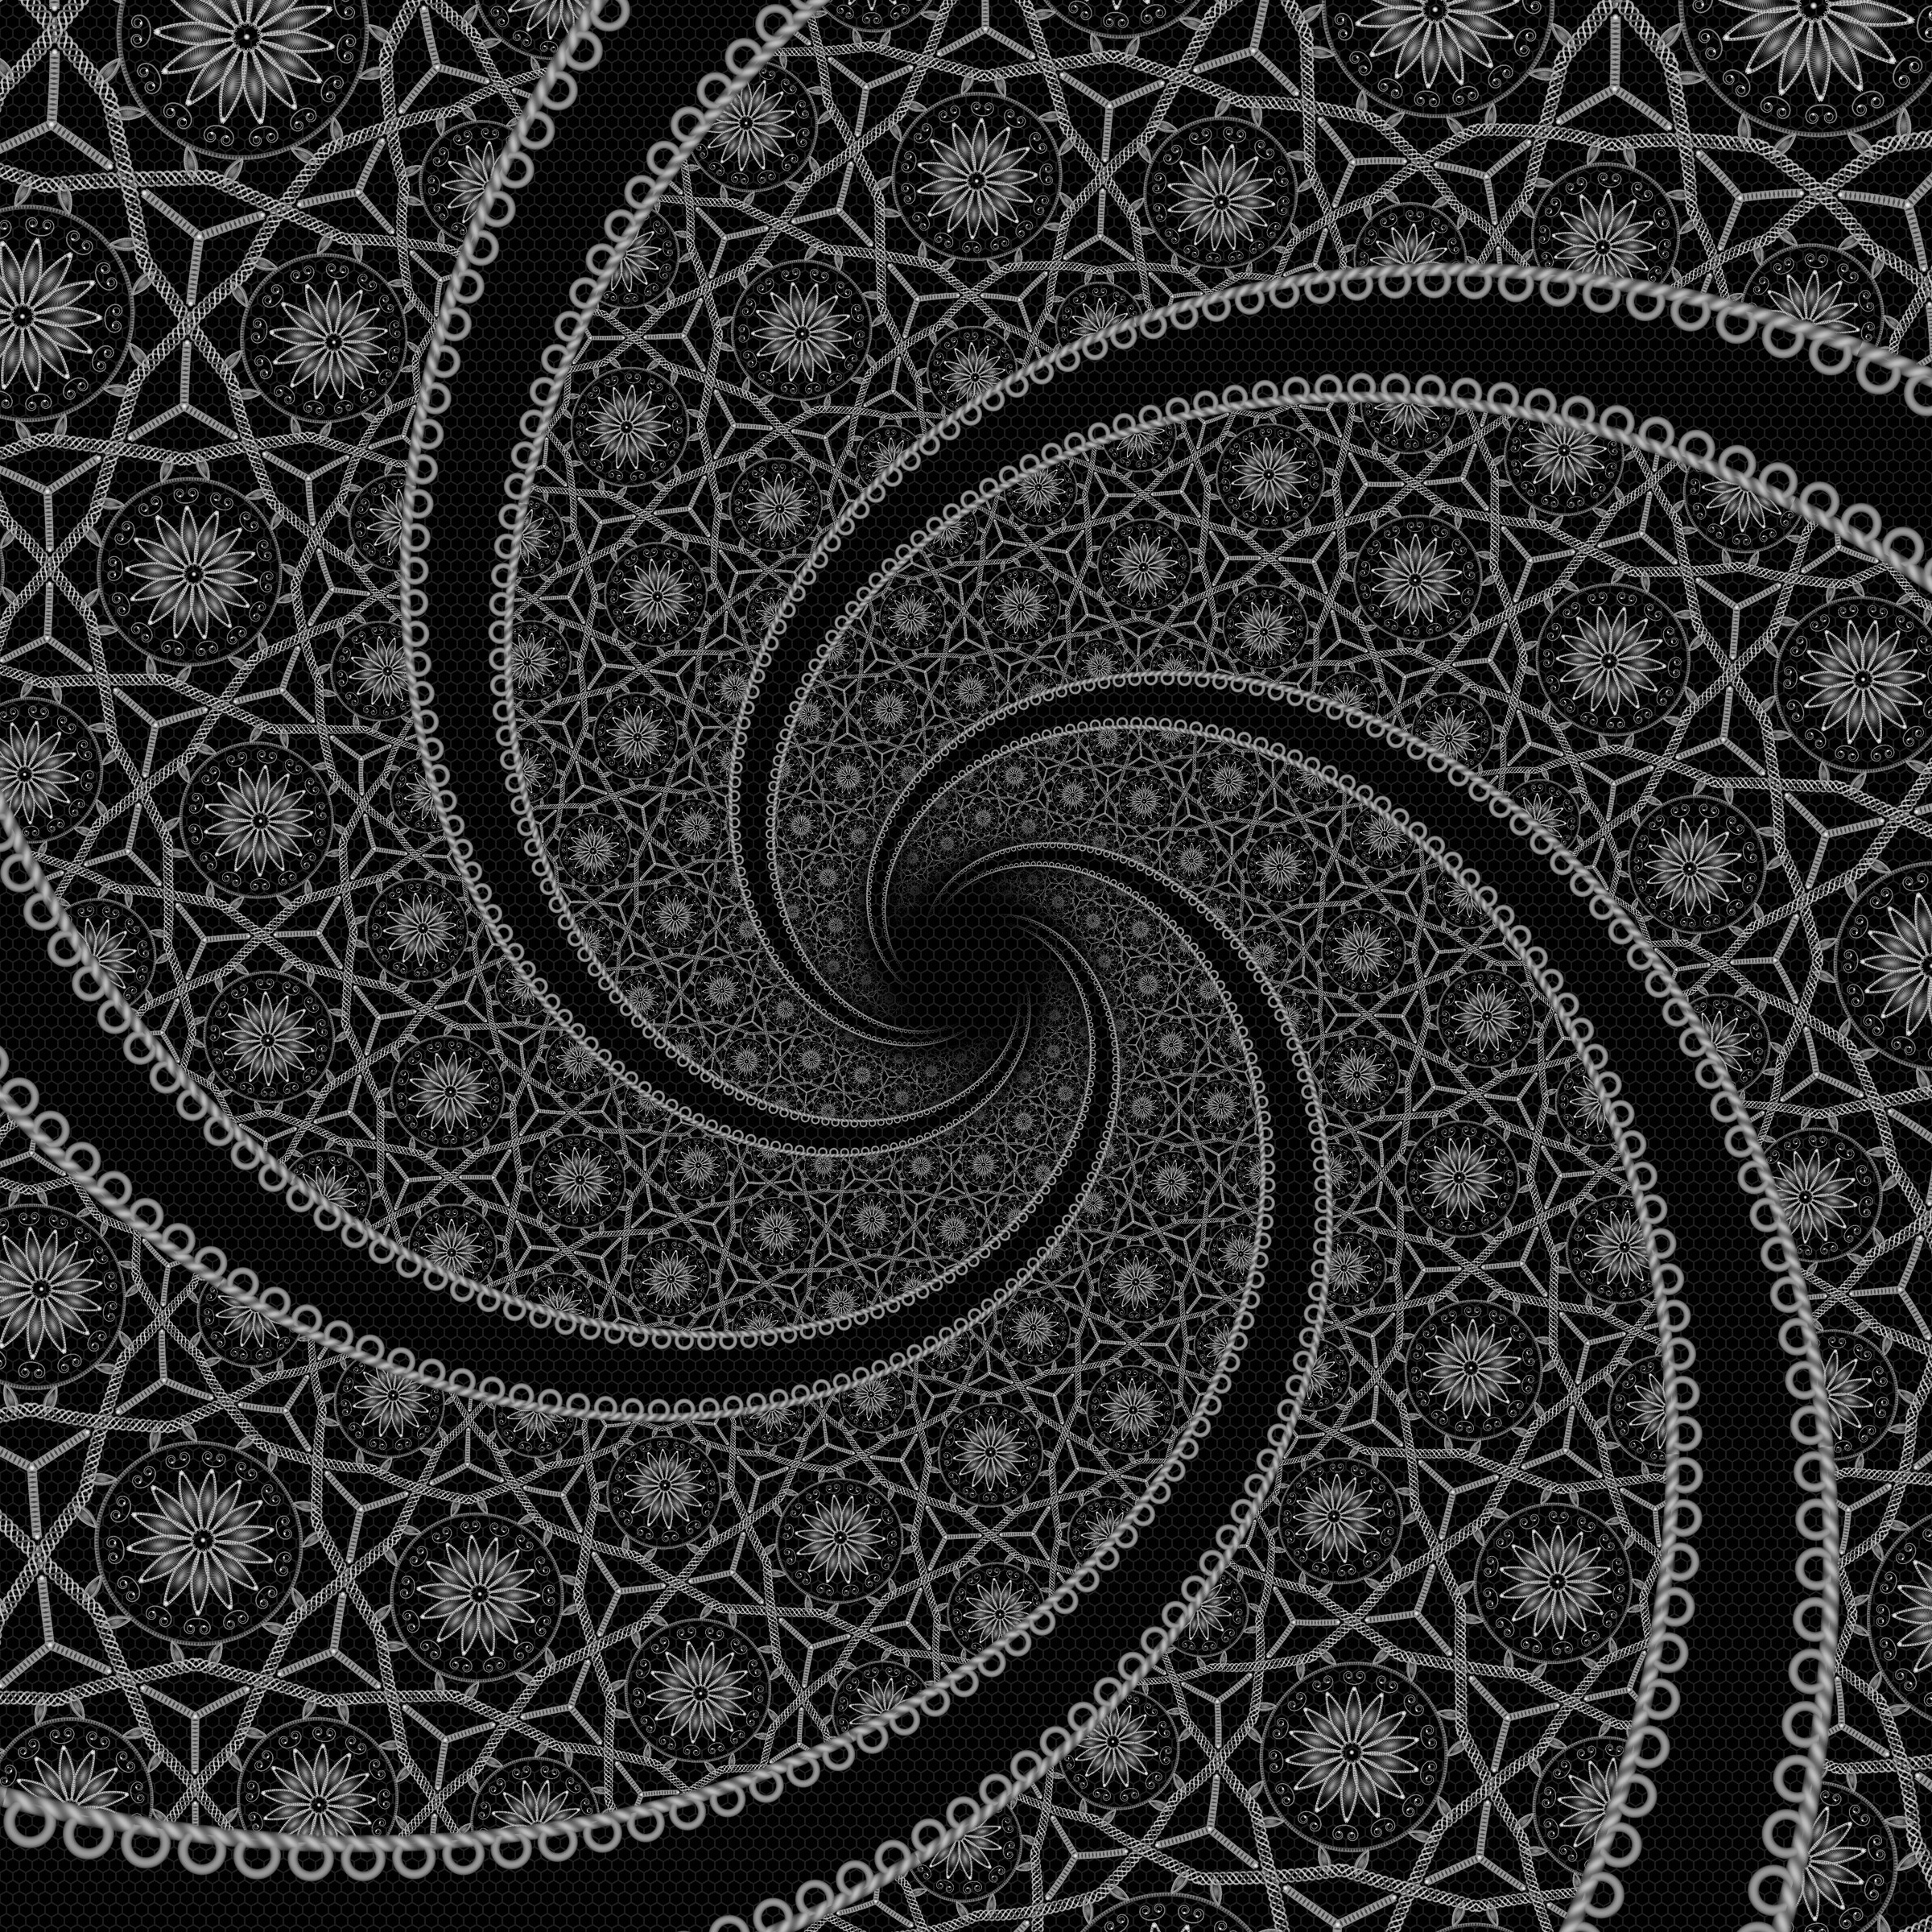
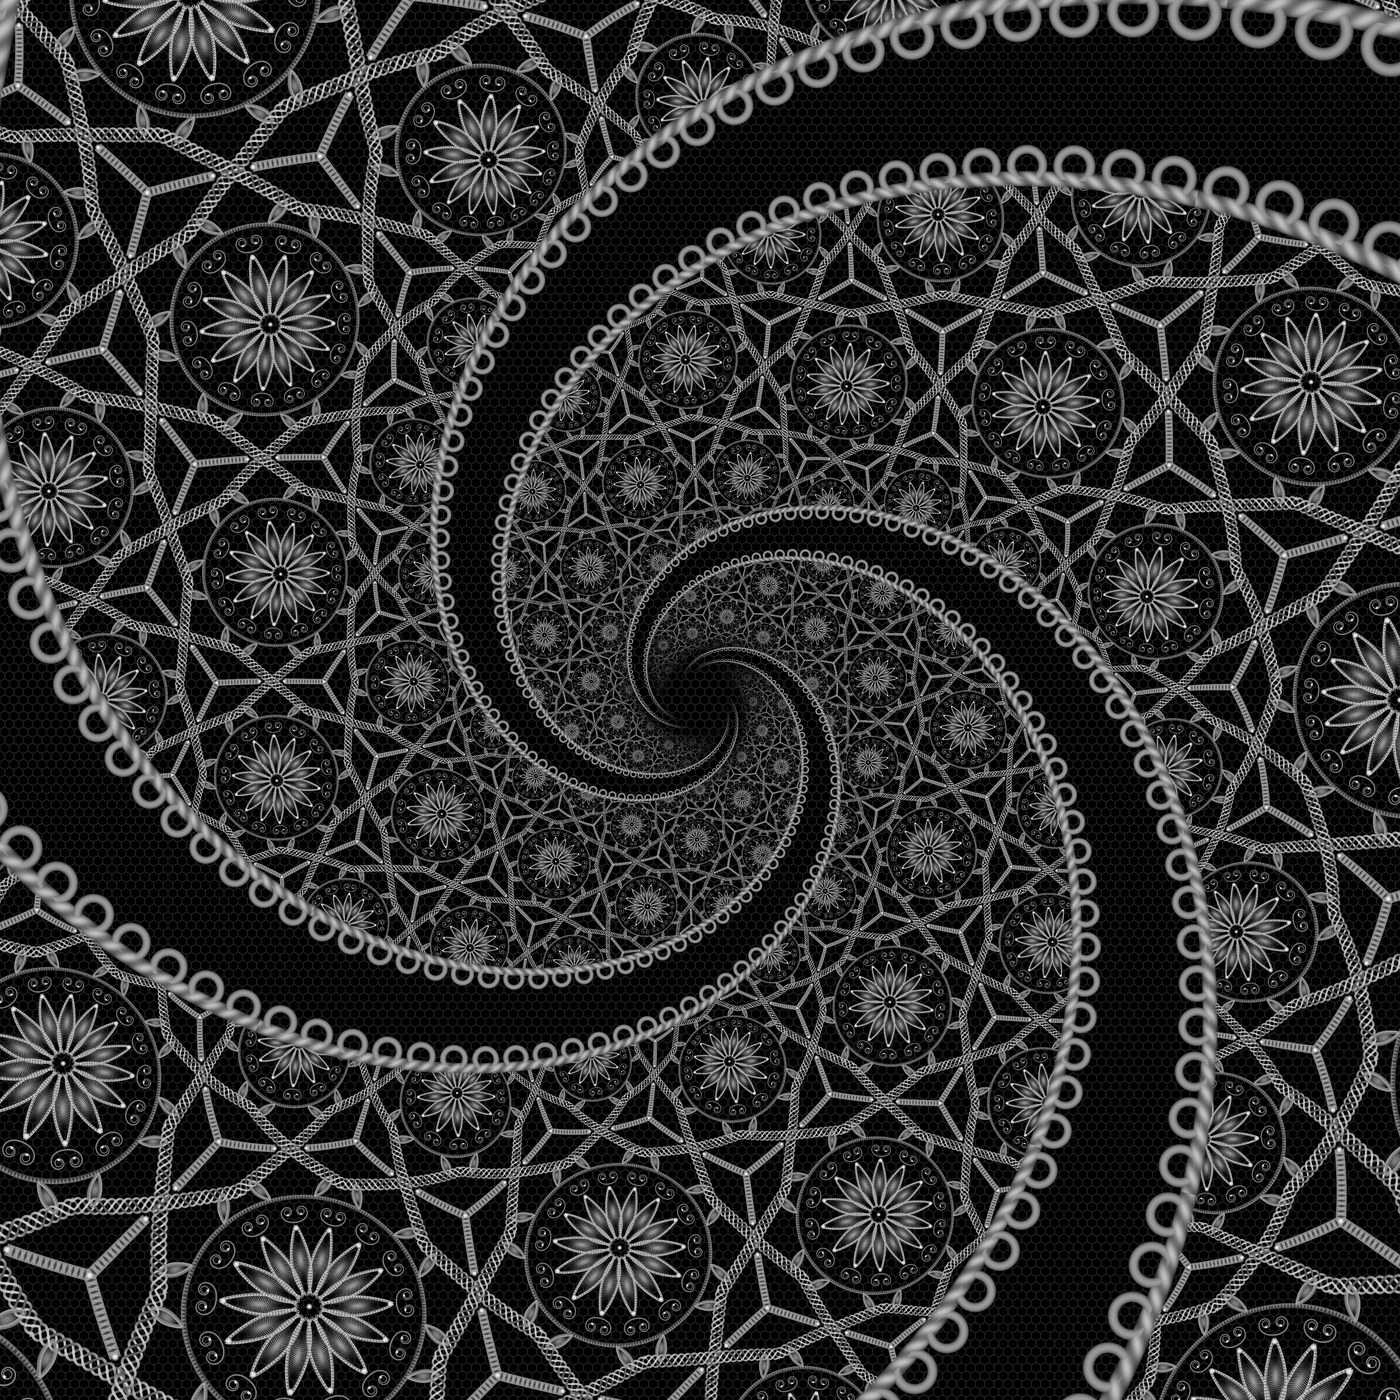
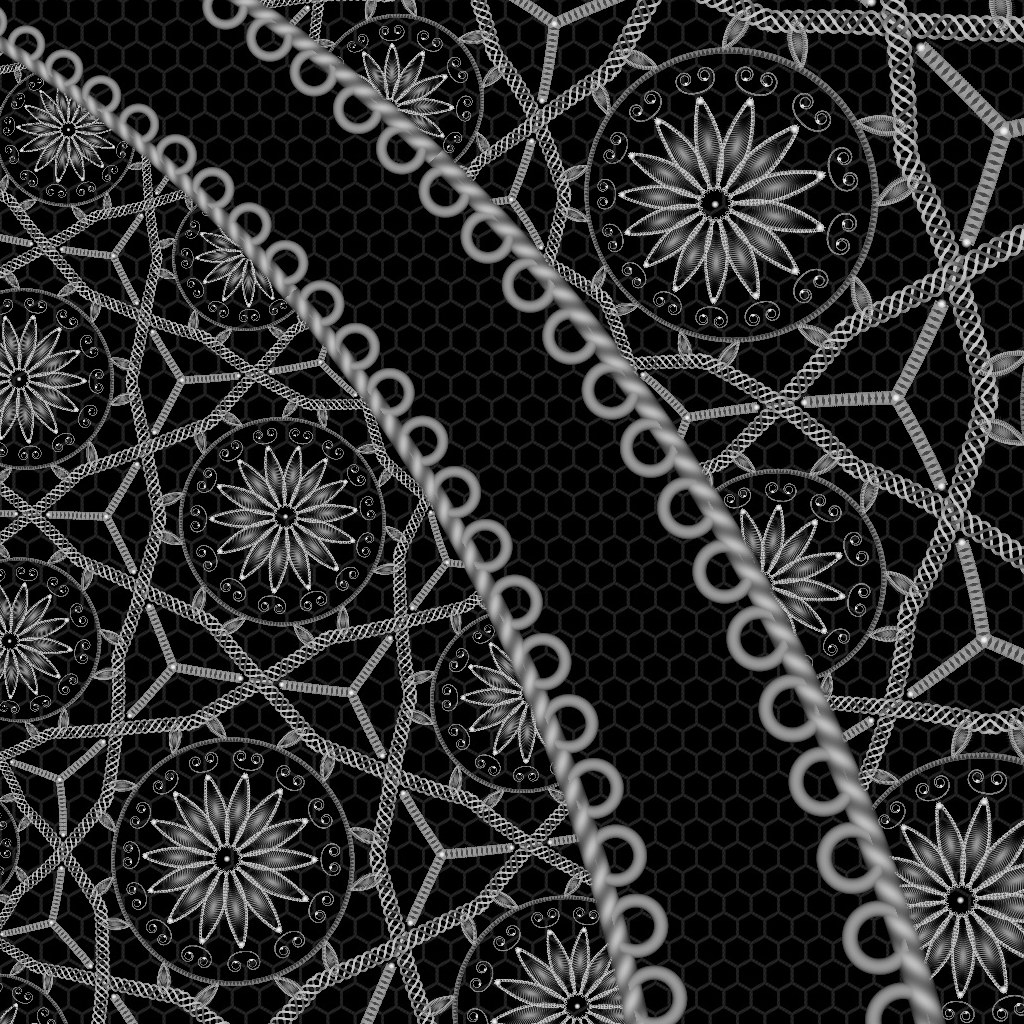
Five ribbons of lace spiralling into a point, built from an infinite tiling that can't exist on a flat surface. I didn't place a single node by hand. Claude wrote the whole graph as Python and I steered.
Treating a material graph like code
I've been obsessed with Andrei Zelenco's lace in Substance Designer. He builds it by hand and you can see every node. I wanted to know what happens if you go the other way and let code write the graph.
So I set up a small bridge: a local server running inside Designer that accepts Python. Claude wrote scripts that create nodes, wire them, write the per-pixel functions and render the result. My job was direction and judgment. I picked the geometry worth chasing, looked at every output, and threw away most of them.
The lace you see is the one that survived. Everything below is how it works.
Four steps from one triangle to a spiral
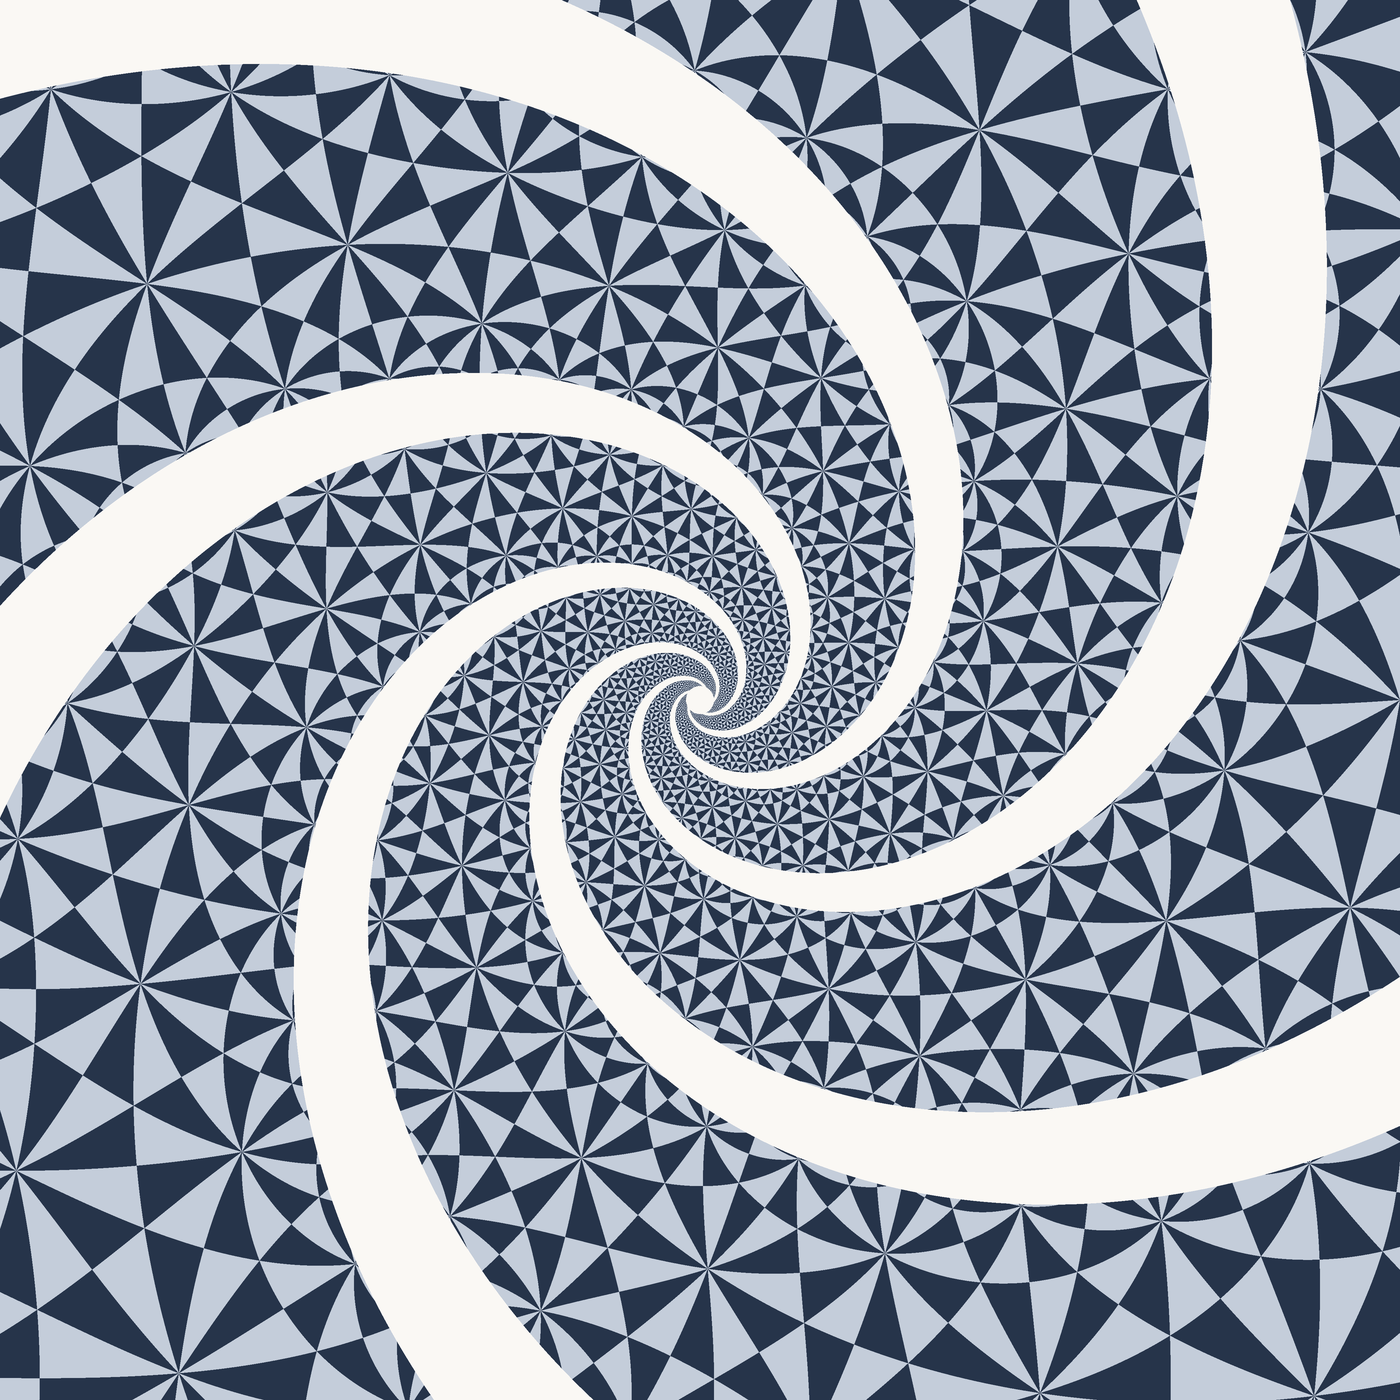
Every pixel in the image runs the same short pipeline. It works backwards: start from where the pixel sits in the spiral, unwrap it to a straight strip, fold the strip back into a disk, then fold the disk down to one small triangle where the motif actually lives. These four steps run in that order inside one Pixel Processor.
Heptagons that overfill every corner
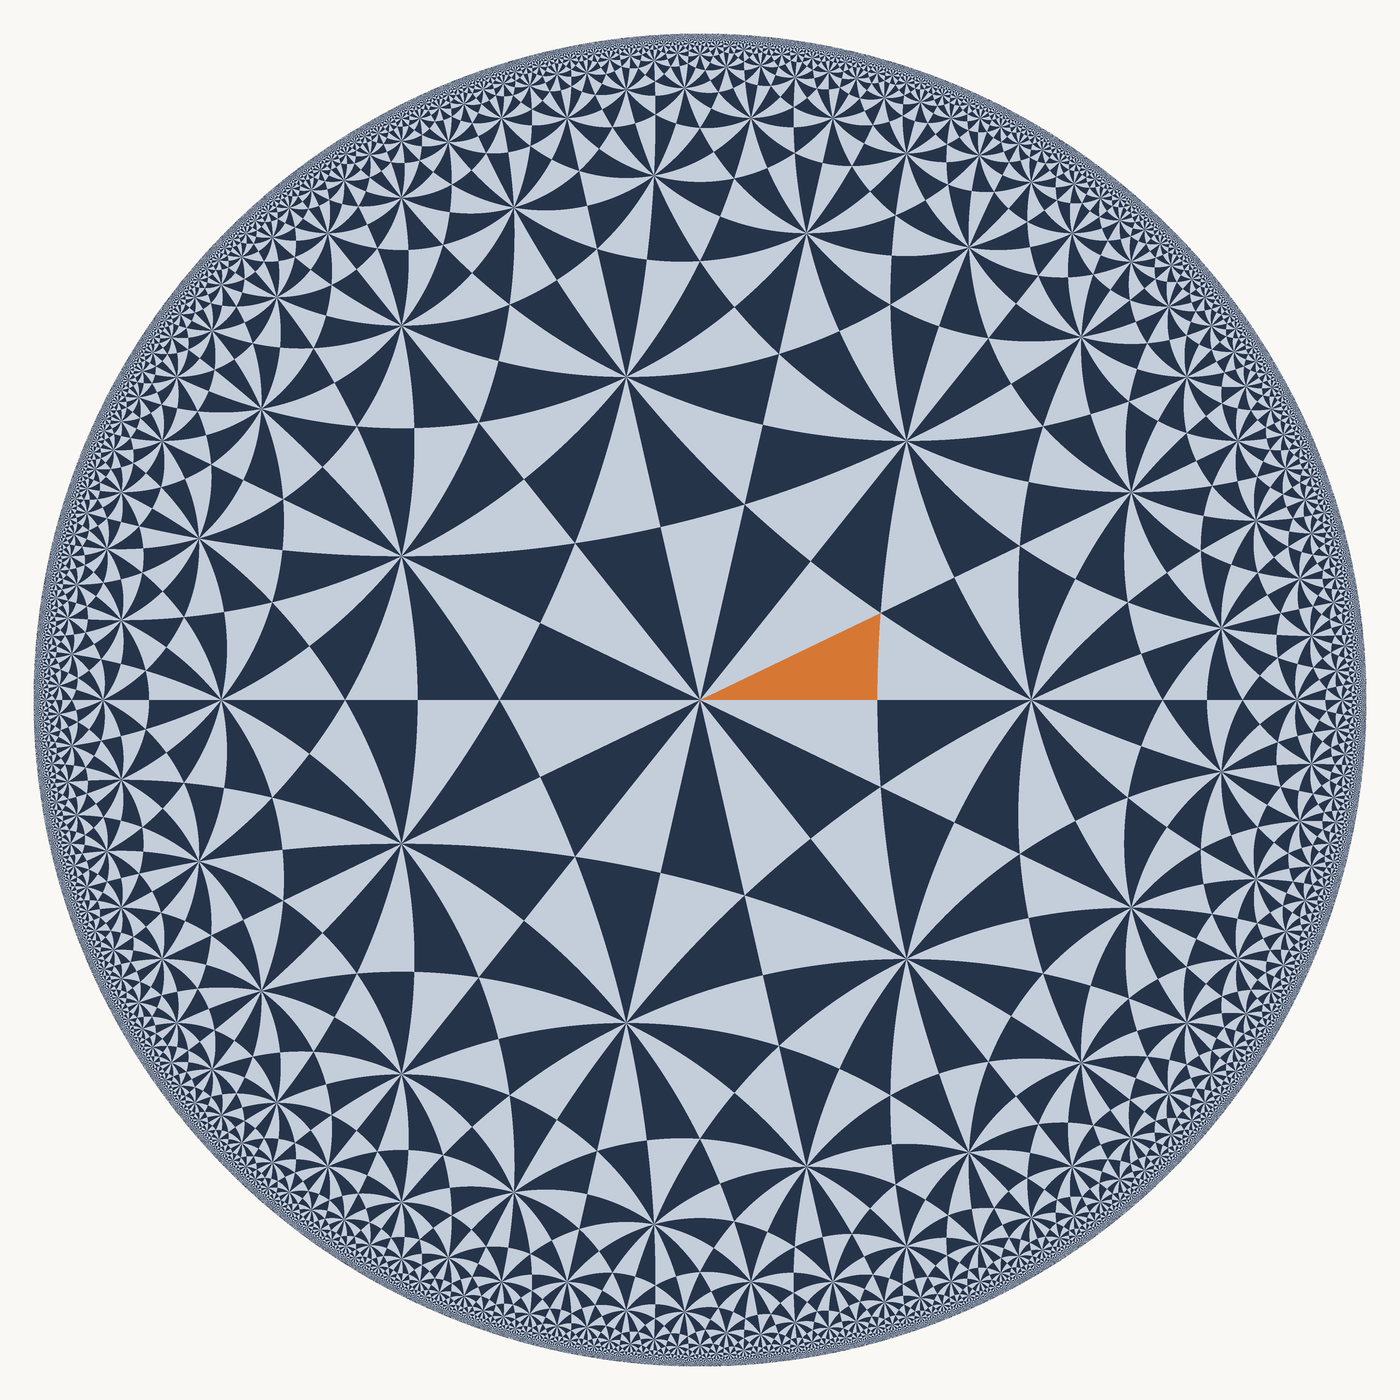
The lace sits on a {7,3} tiling: regular seven-sided tiles, three meeting at every corner. On a flat surface that's impossible. A regular heptagon's corner is about 128.6°, and three of them add up to 385.7°, more than a full turn. So the tiles live in the hyperbolic plane instead, drawn here as the Poincaré disk. The tiles are all the same size in that geometry. They only look smaller as they pack infinitely toward the rim. It's the same family of geometry Escher used for his Circle Limit prints.
The whole tiling is built from one triangle (copper, right) with angles π/7, π/3 and π/2. Three mirrors bound it: the horizontal axis, a ray at π/7, and a circle that crosses the rim at right angles, which is what a straight line looks like in this geometry.
Reflect until you land home
One small motif (a rosette, some petals, a few connecting bars) is drawn once with FX-Map stamps, inside that single triangle.
For every pixel, a loop rotates the point into the right wedge, flips it across the π/7 ray if it's on the wrong side, and inverts it through the mirror circle if it's inside. Repeat until nothing moves, at most 40 passes. Now the pixel is in the copper triangle and reads the motif there. That one loop turns one triangle into the whole infinite pattern.
The loop also counts its flips. Odd or even decides which strand goes on top at each crossing, and because neighbouring triangles always differ by one flip, every thread alternates over and under along its whole length. That parity count is the weave.
Unrolling the disk into a ribbon
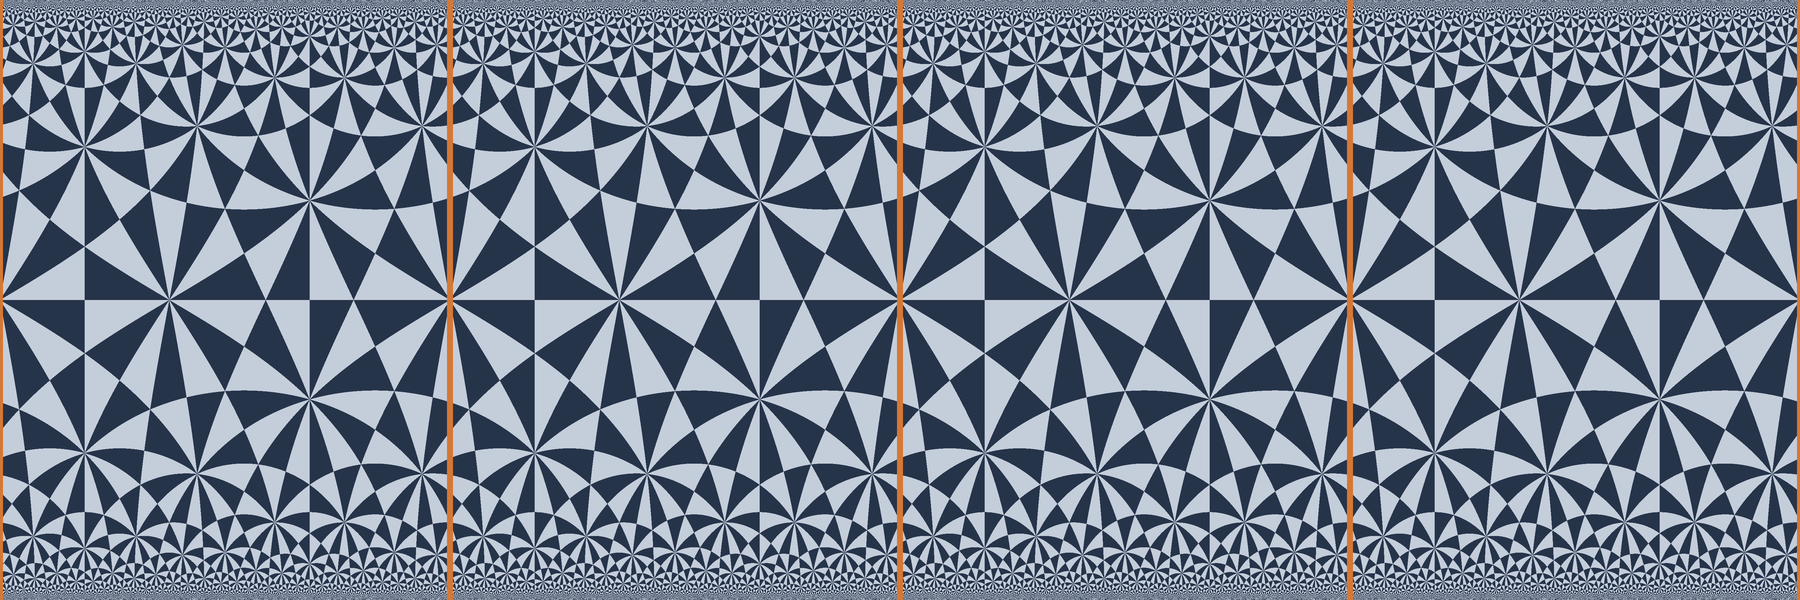
A disk is a medallion, not a ribbon. The band model fixes that. The map below sends an endless straight strip onto the whole disk, with the strip's centre line landing on the disk's horizontal diameter.
Sliding along the strip, u → u + T, is a hyperbolic translation. We found the smallest slide that maps the tiling exactly onto itself with the over/under parity intact, numerically: T = 2.89814944535515. Cut the lace to a band of that strip and it repeats every T with no seam.
Wrapping the strip with a logarithm
A complex logarithm turns straight lines into spirals. The trick is picking the constant so that one full turn around the centre lands exactly on a repeat of the pattern.
Go once around and w shifts by exactly six lace periods along the ribbon and five ribbon widths across. Both are symmetries, so the five arms close with no seam.
The log is conformal: it preserves angles. The lace shrinks toward the centre in proportion to distance, |dw/dp| = |A| / |p|, but never stretches or shears. Where a thread would get thinner than a pixel, the detail fades out instead of aliasing.
Finishing, and changing only the numbers
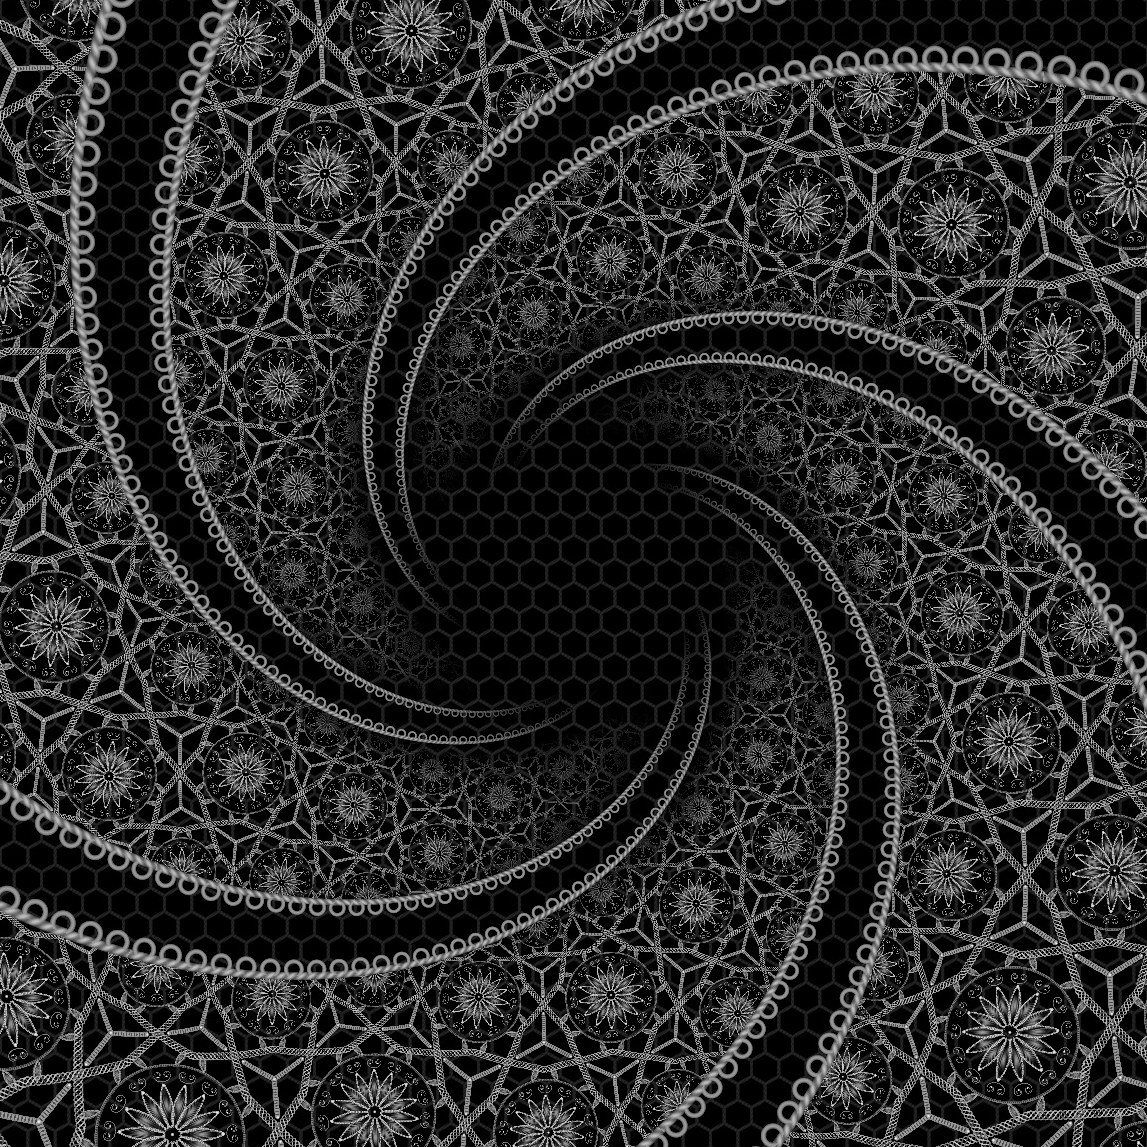
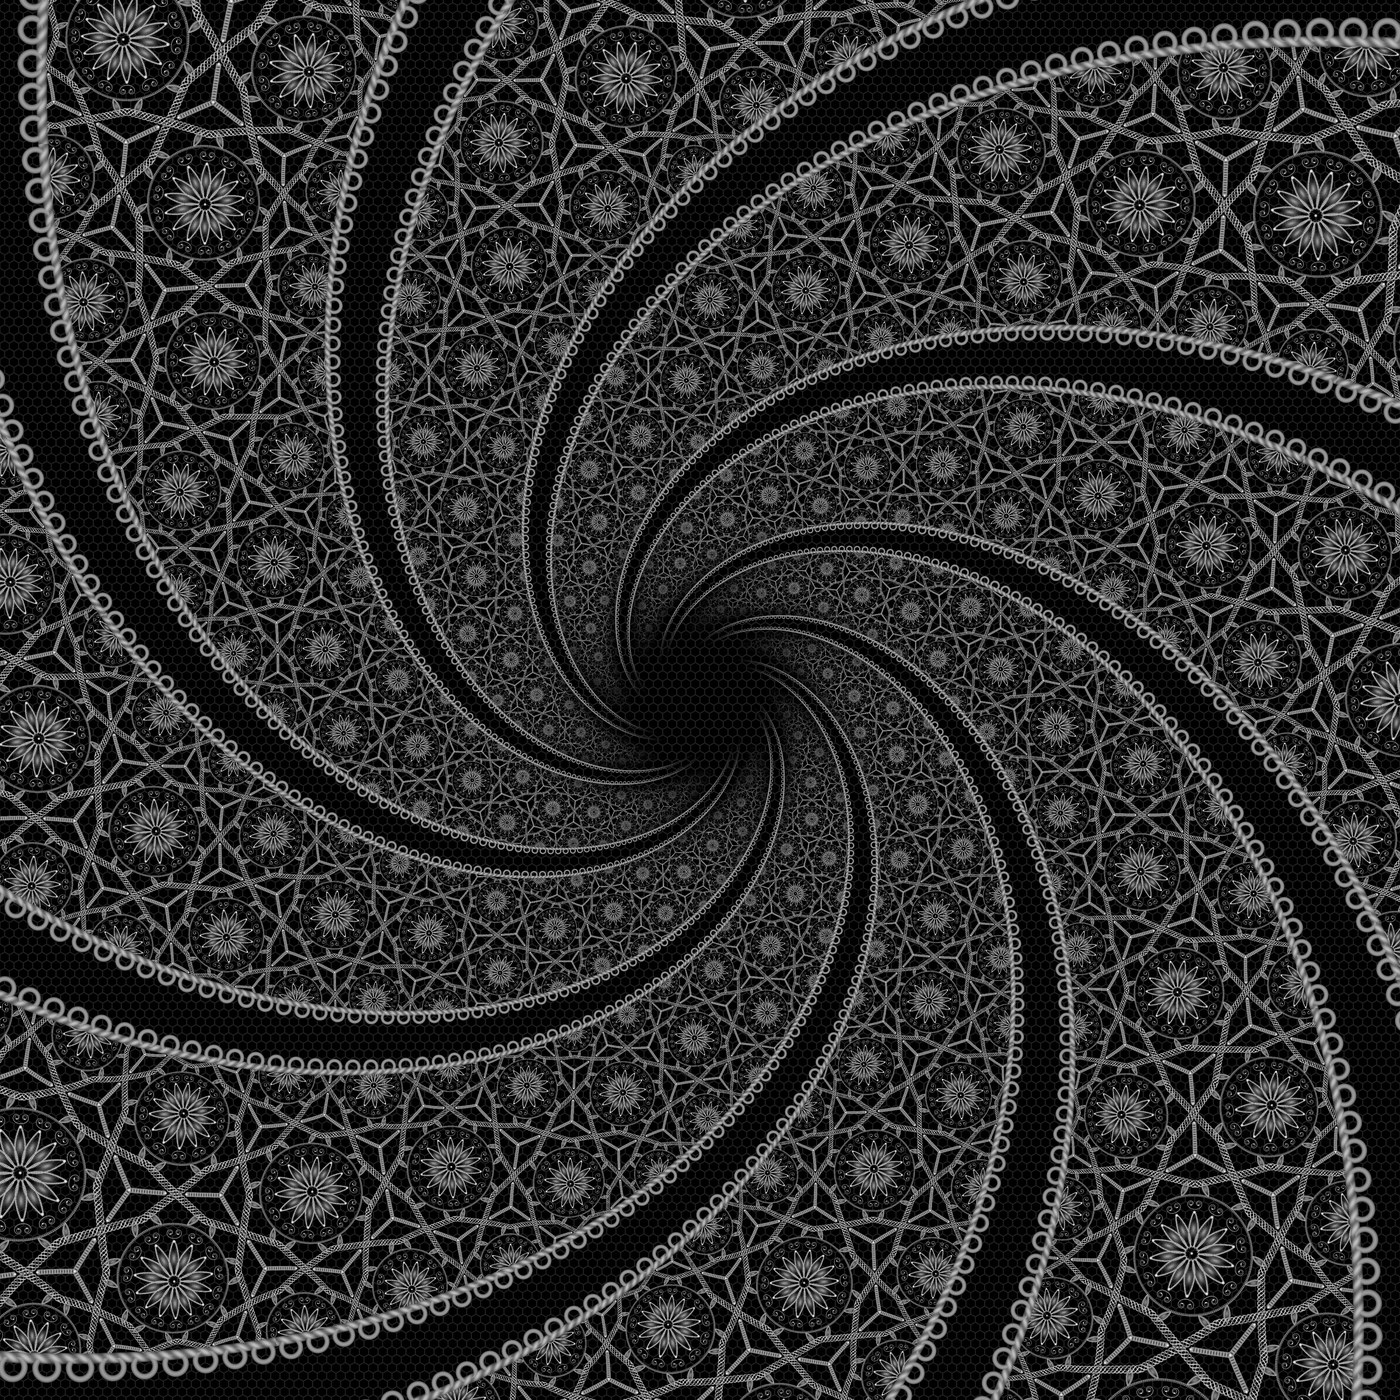
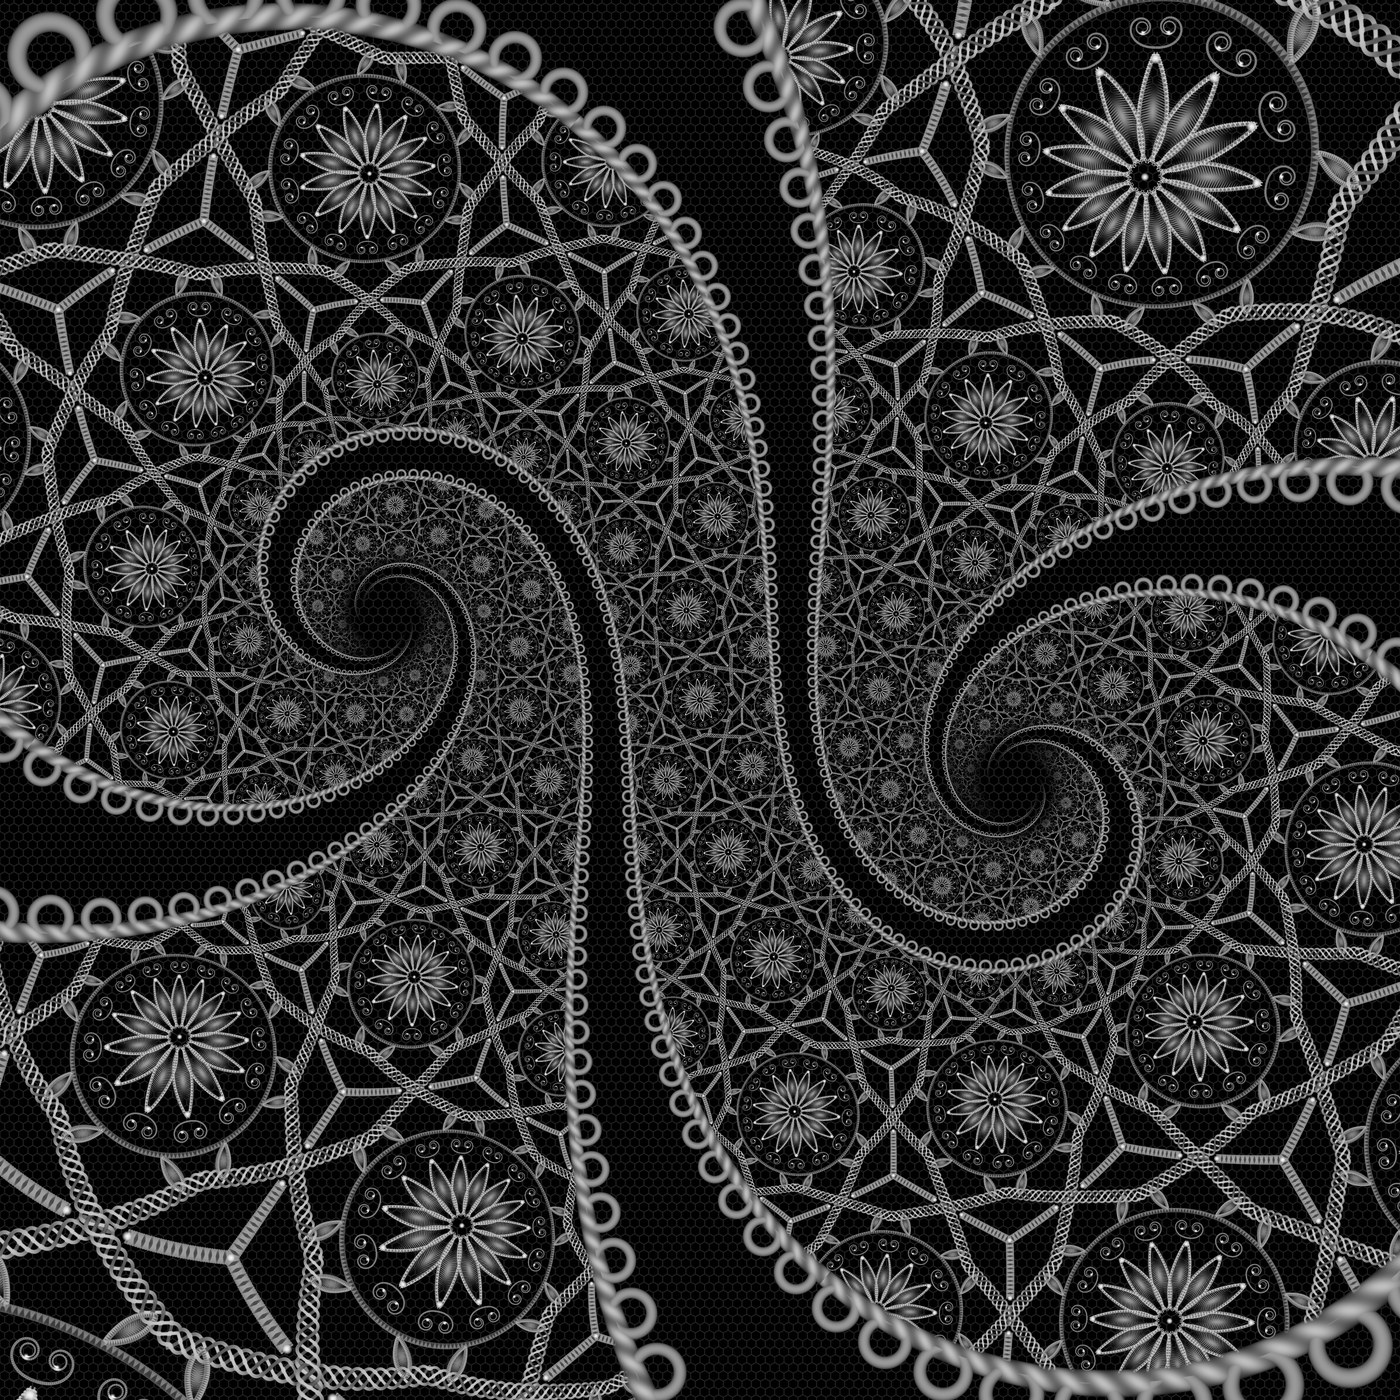
On top of the folded lace: a twisted cord runs along each ribbon edge, picot loops sit just outside it, and a hex tulle net fills the space behind. Then the fun part. Every variation below came from changing a few numbers in the script. Three arms, eight arms, and a double spiral that flows out of one point and into another, made by a Möbius map q = (p − a) / (p + a) placed in front of the log.
Small on the outside
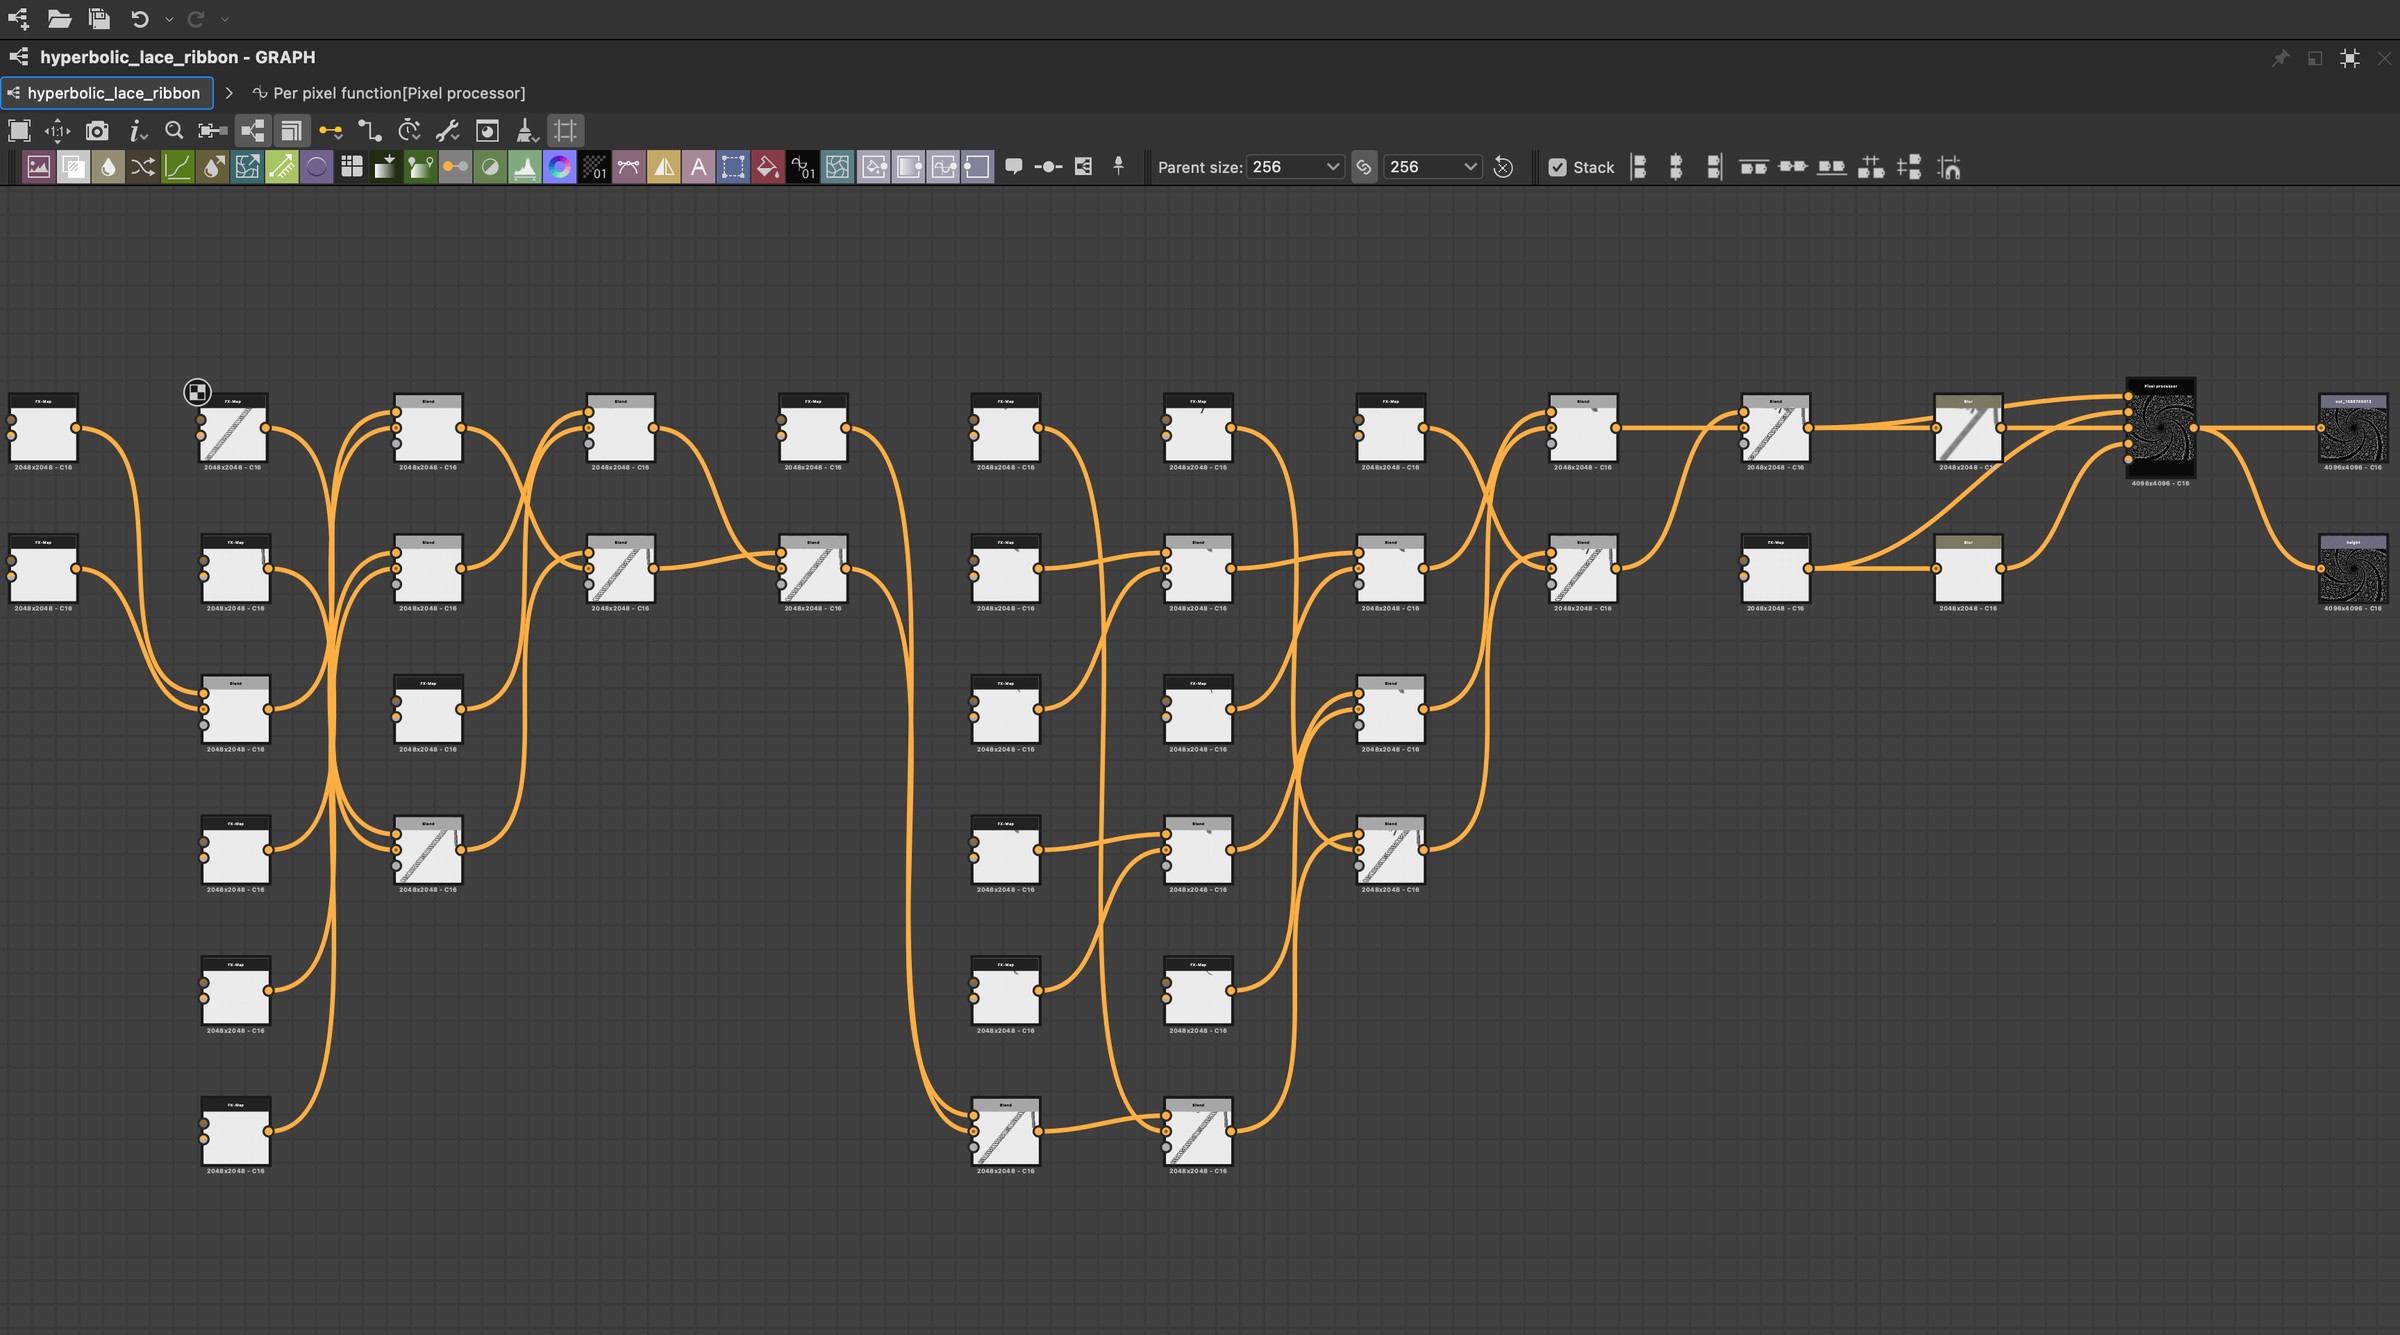
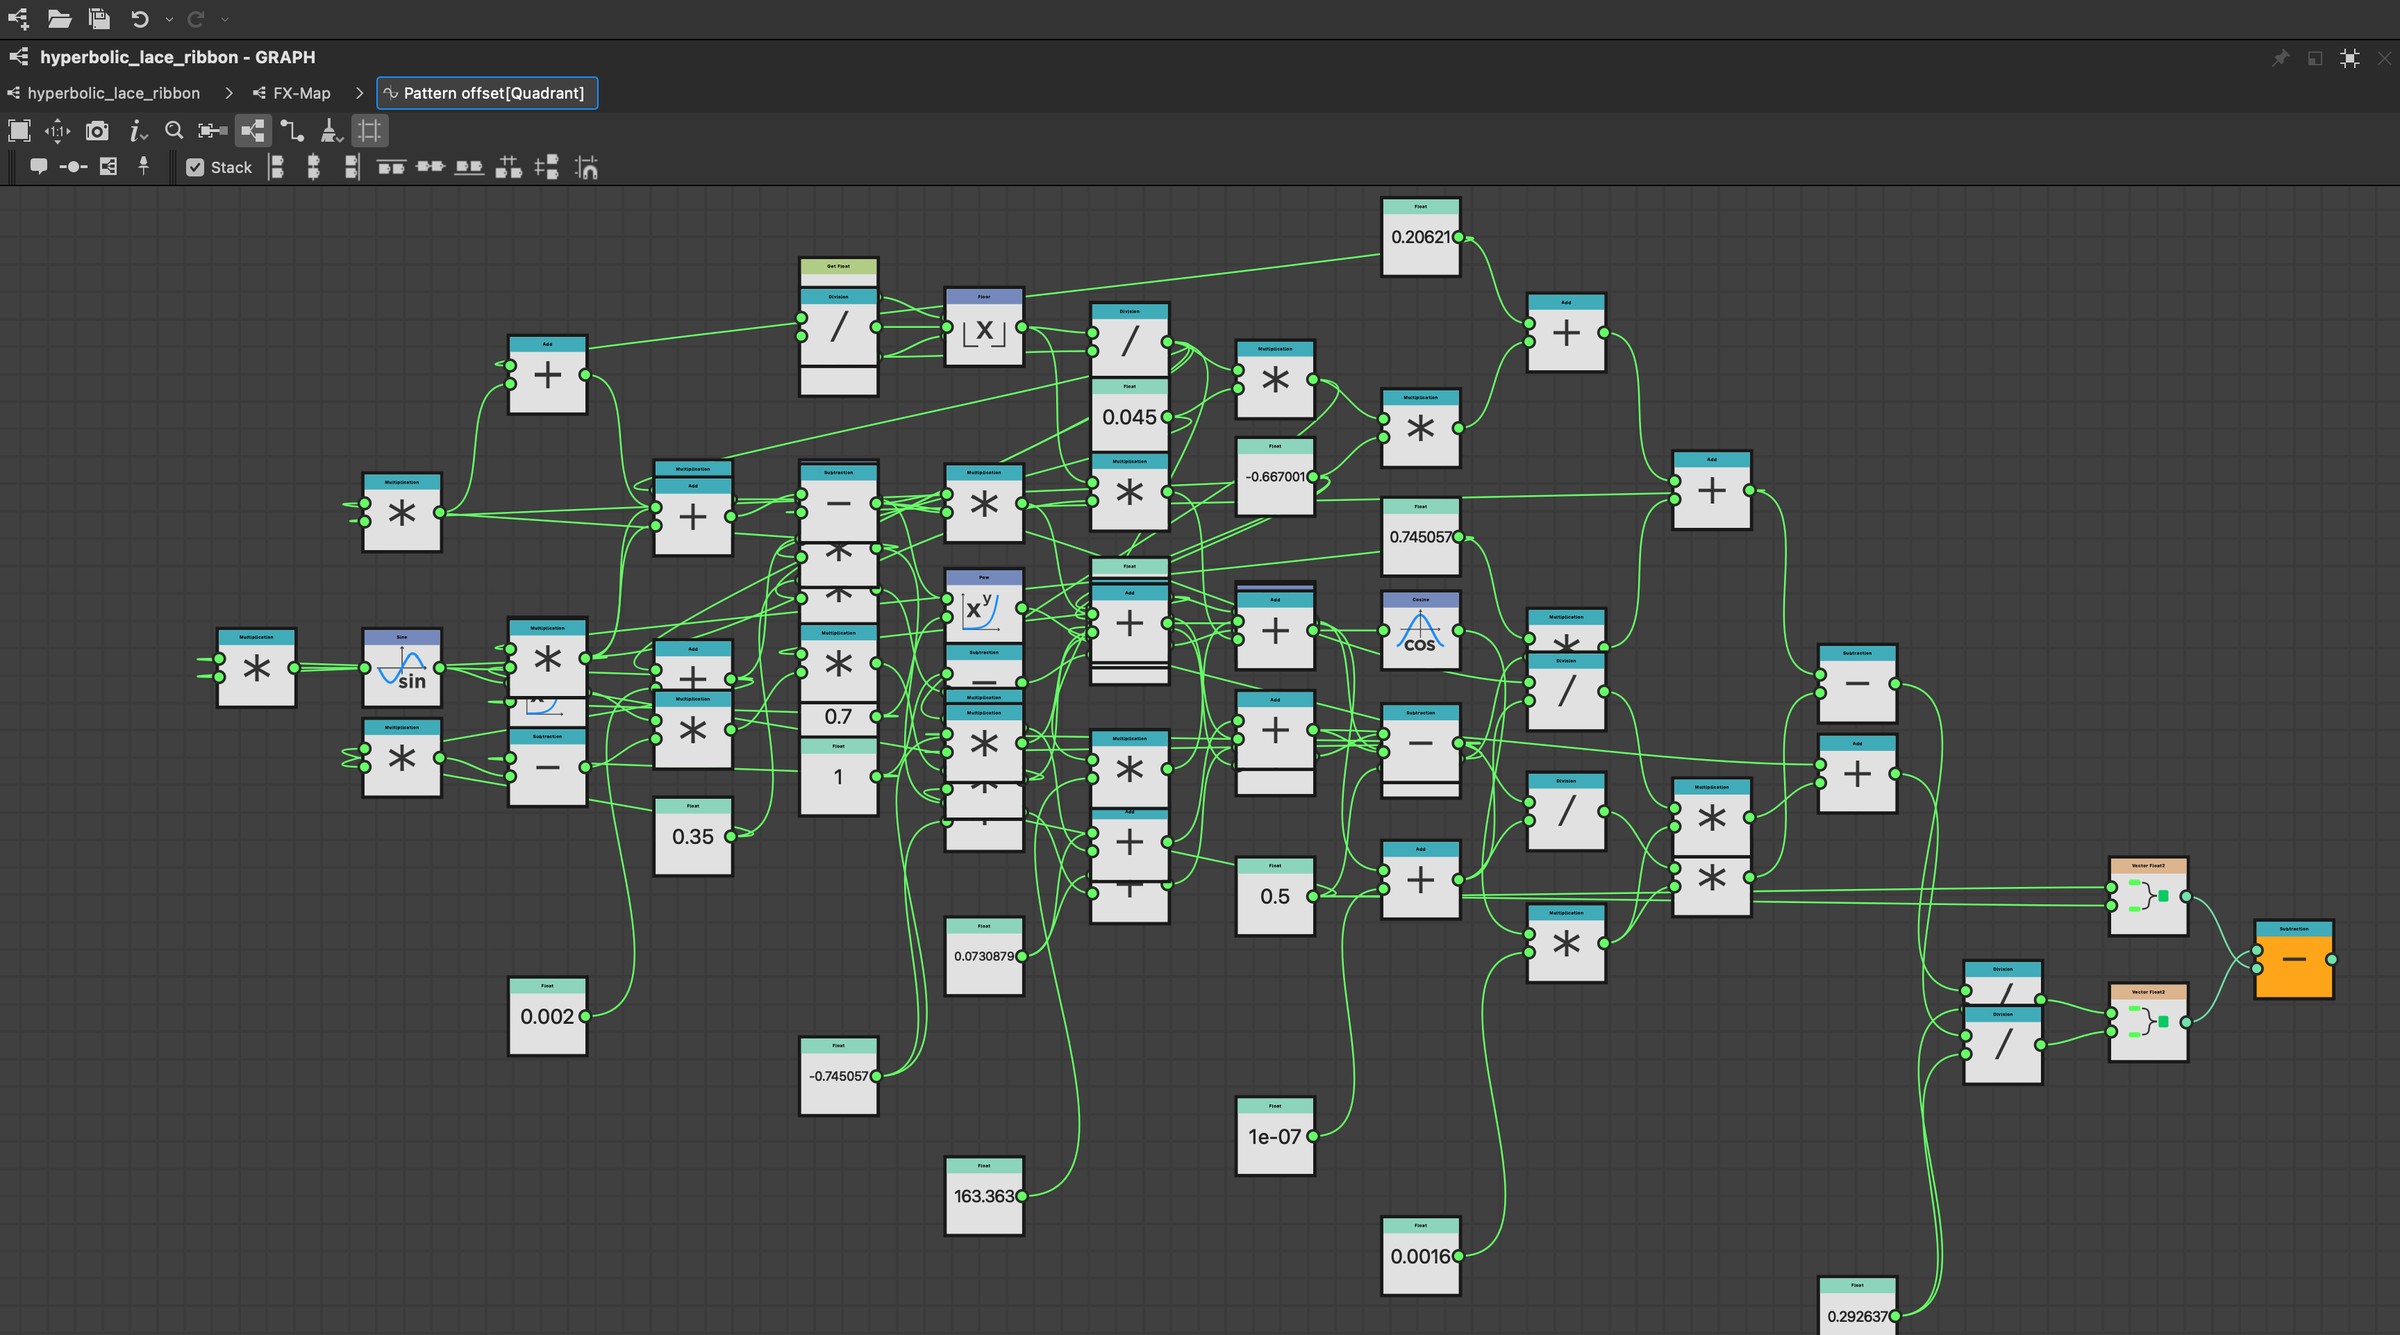
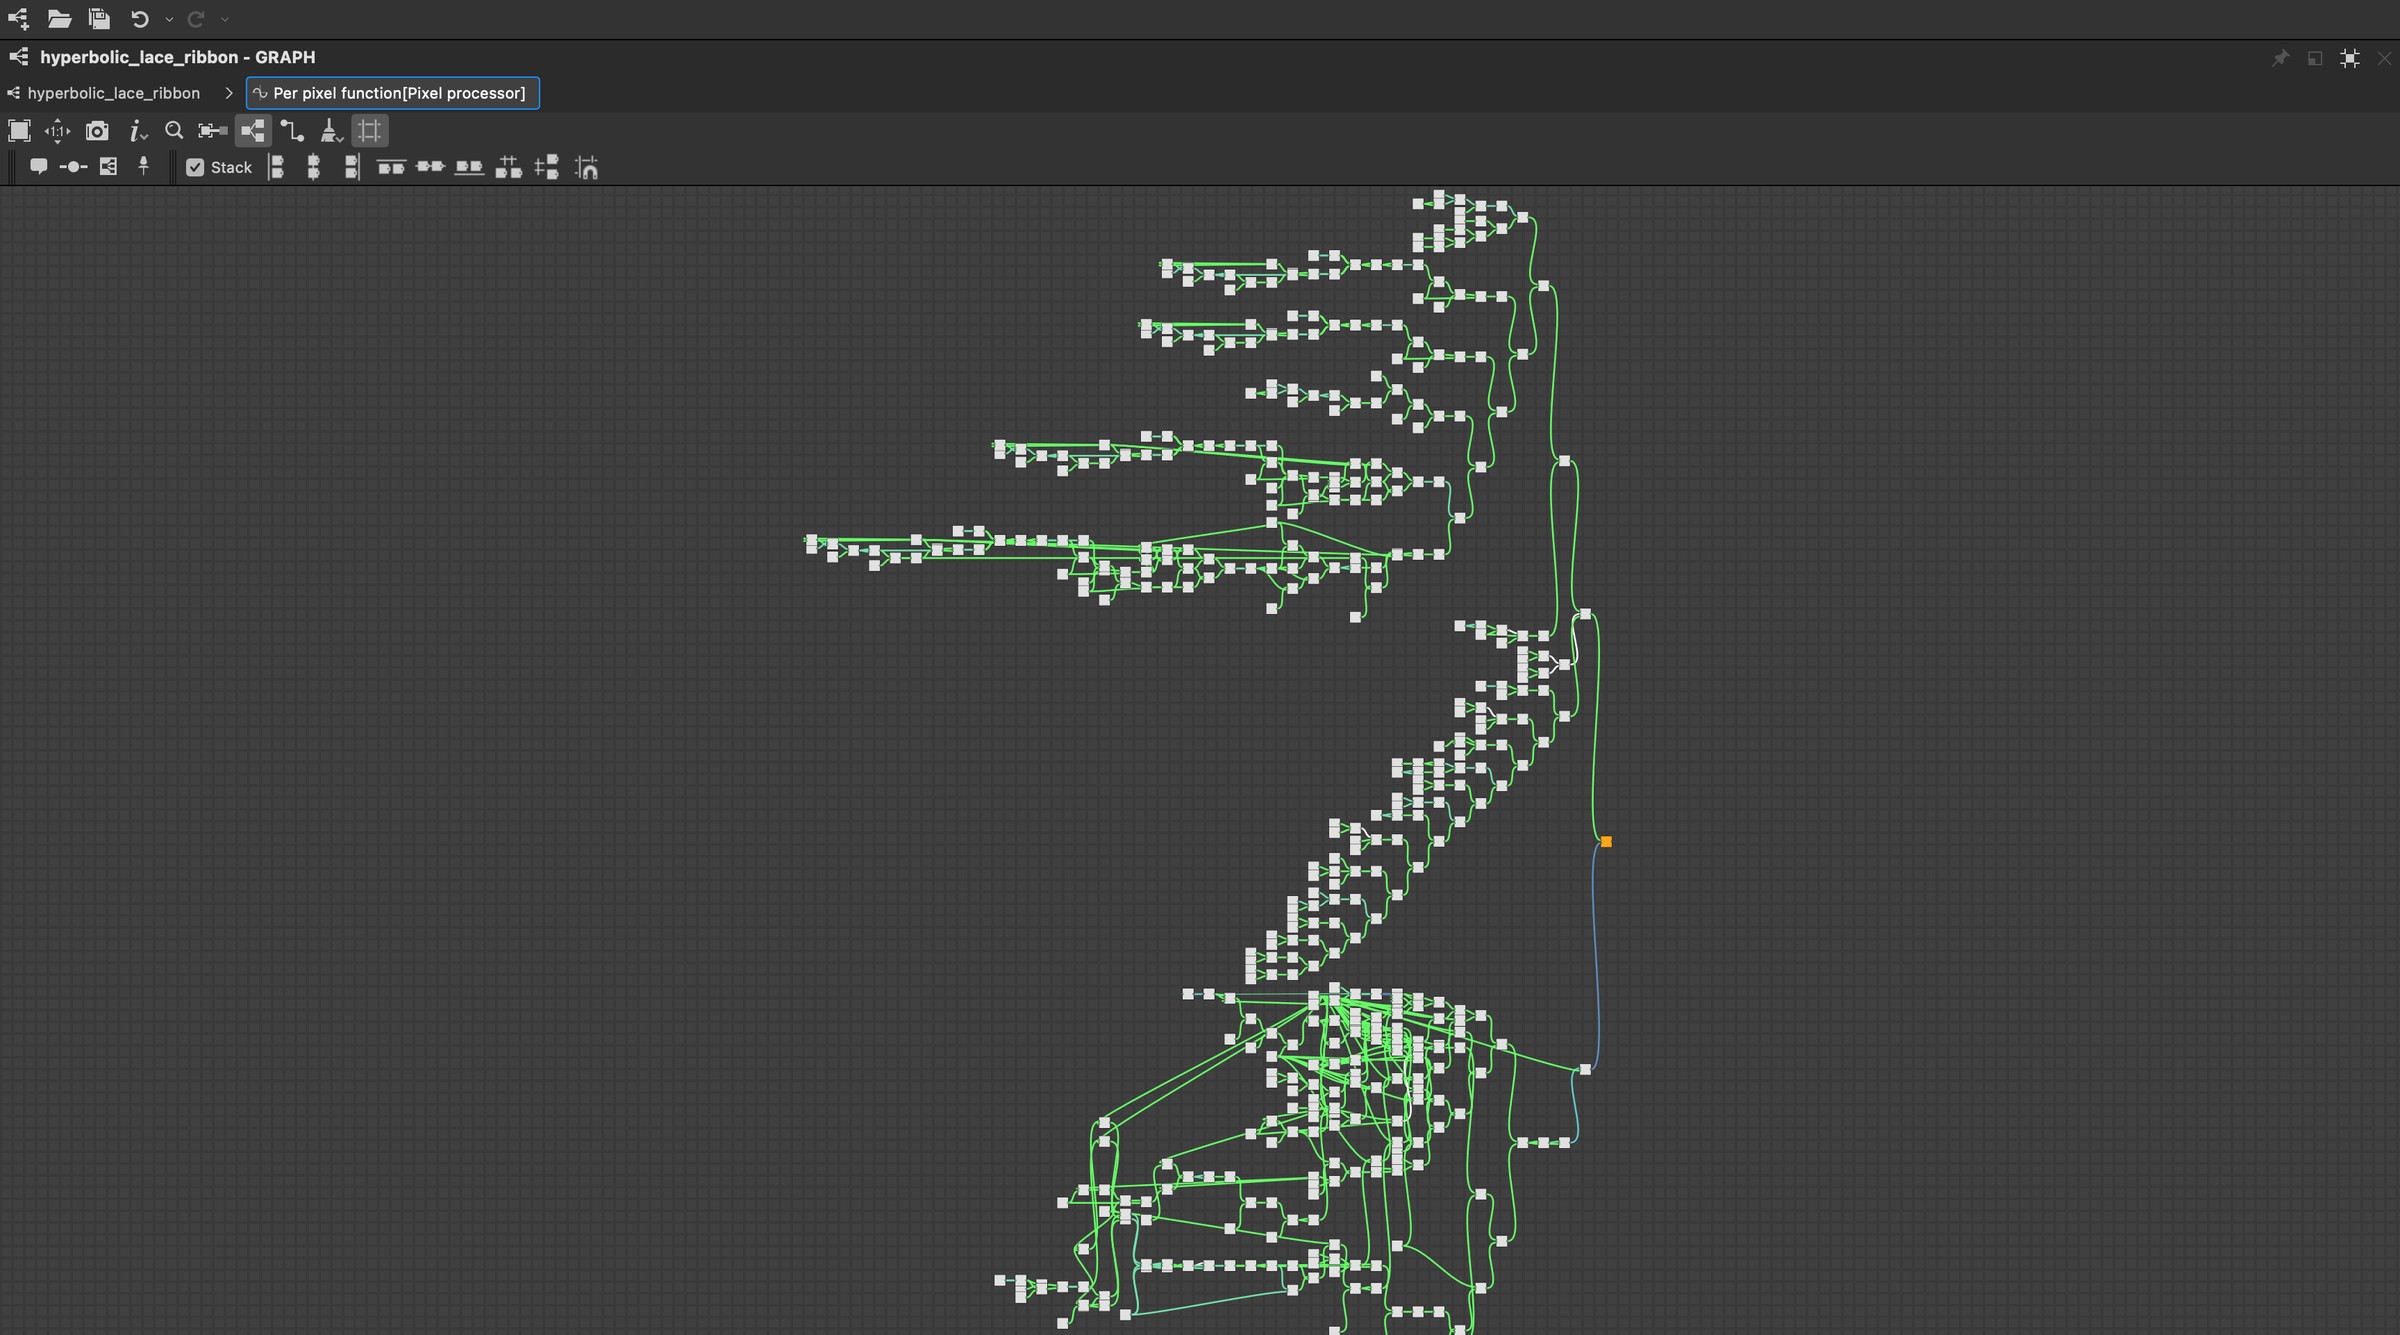
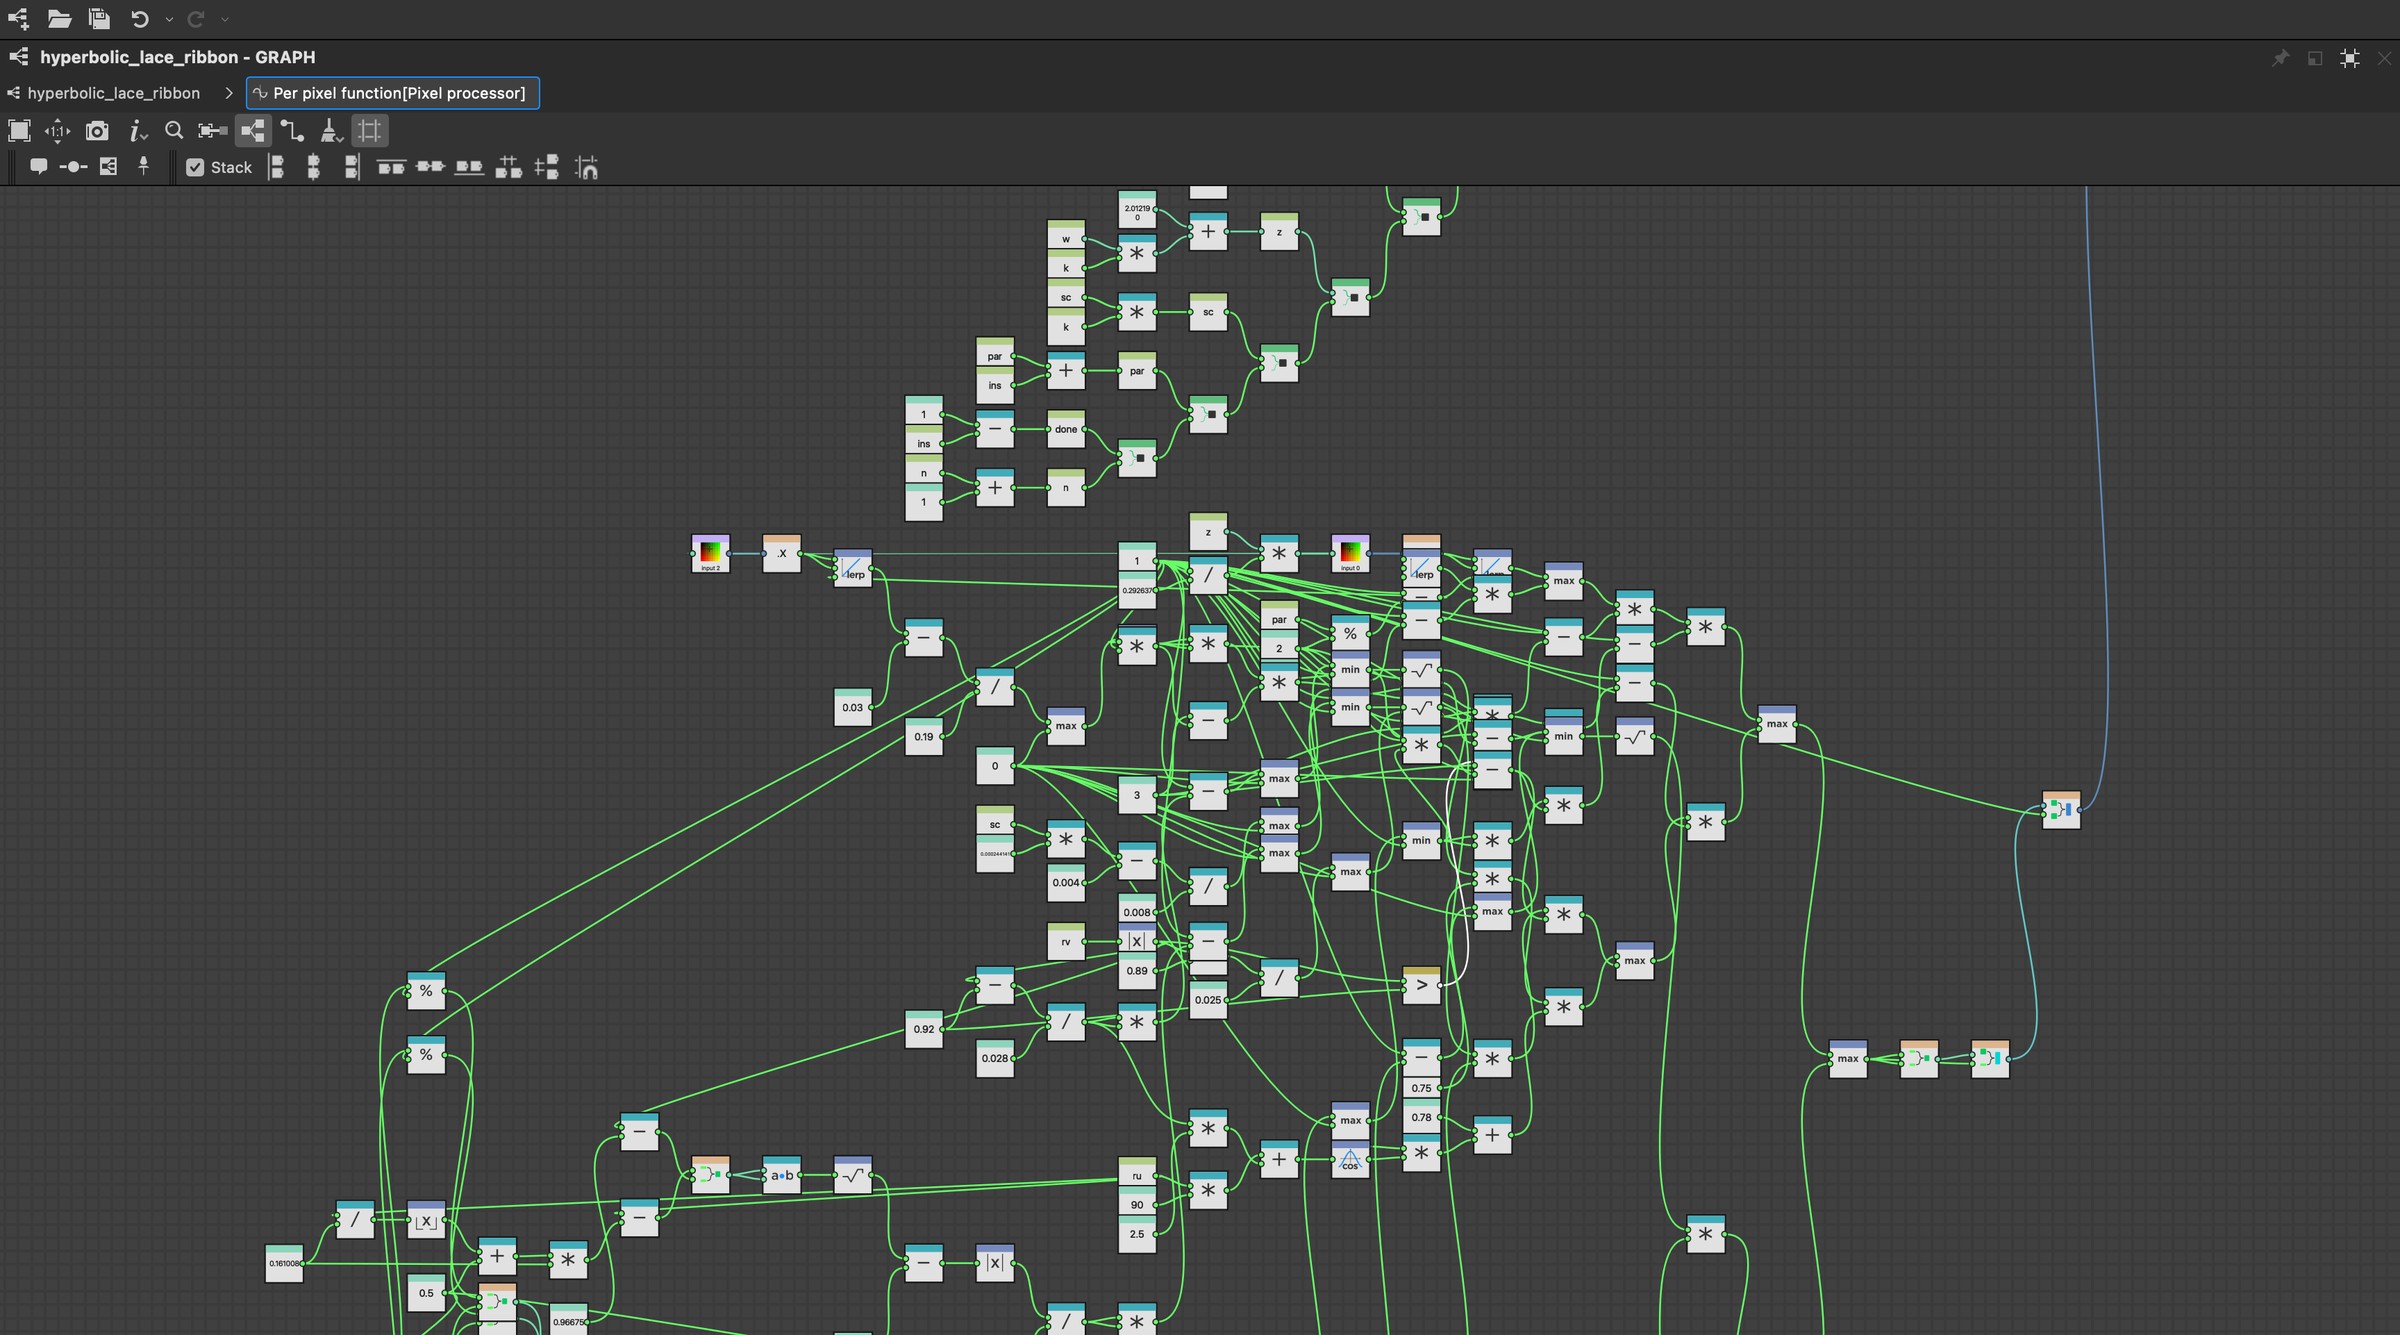
Open the package and the graph looks modest. Open the containers and it keeps going. Andrei's graphs are built by hand so you can read every node. This one was generated by code and packed into a few containers, so it hides its size and it's harder to read. That's the trade.
The math was the easy part for the AI
The split surprised me. Hyperbolic geometry, conformal maps and generating thousands of correctly wired nodes came back right. The part I assumed would be easy came back wrong every time.
Where it was strong
- Deriving the mirror circle, the band period and the spiral constant
- Writing a while-loop fold as a Designer function graph
- Generating and wiring about 1,880 nodes from code
- Turning one script into variations by changing a few numbers
Where it fell flat
- Every finished, beautiful render I asked for: gold embroidery on velvet, a naturalist illustration, needle lace
- Judging its own output. It kept telling me renders were improving when they weren't
- Knowing when to stop and say a look wasn't close
I scrapped all of those render attempts. What worked was a clean split: let it own the math and the structure, and keep the taste call with me. The lab now ships heightmaps and graphs, and the look gets made in a real material pipeline.
Parameters
| Symbol | Value | Meaning |
|---|---|---|
| {p, q} | {7, 3} | heptagons, three per corner; hyperbolic because 1/7 + 1/3 < 1/2 |
| D, R | 2.0122, 1.7461 | mirror circle centre and radius |
| max passes | 40 | reflection loop cap per pixel |
| T | 2.89814944535515 | band period, found numerically |
| H | 0.92 | ribbon half-height in the strip |
| Hs | 2.4 | spacing between ribbons |
| N, M | 5, 6 | ribbons, lace repeats per turn |
| a | (0.45, 0.12) | Möbius pole for the double spiral |
| output | 4096², 16-bit | height channel |