Every stitch is a real thread
I took Hokusai's Great Wave apart and rebuilt it as embroidery: 163,385 stitches, each one modelled as twisted filaments, lying on woven linen on a wooden table. Nothing on screen is a texture of thread.
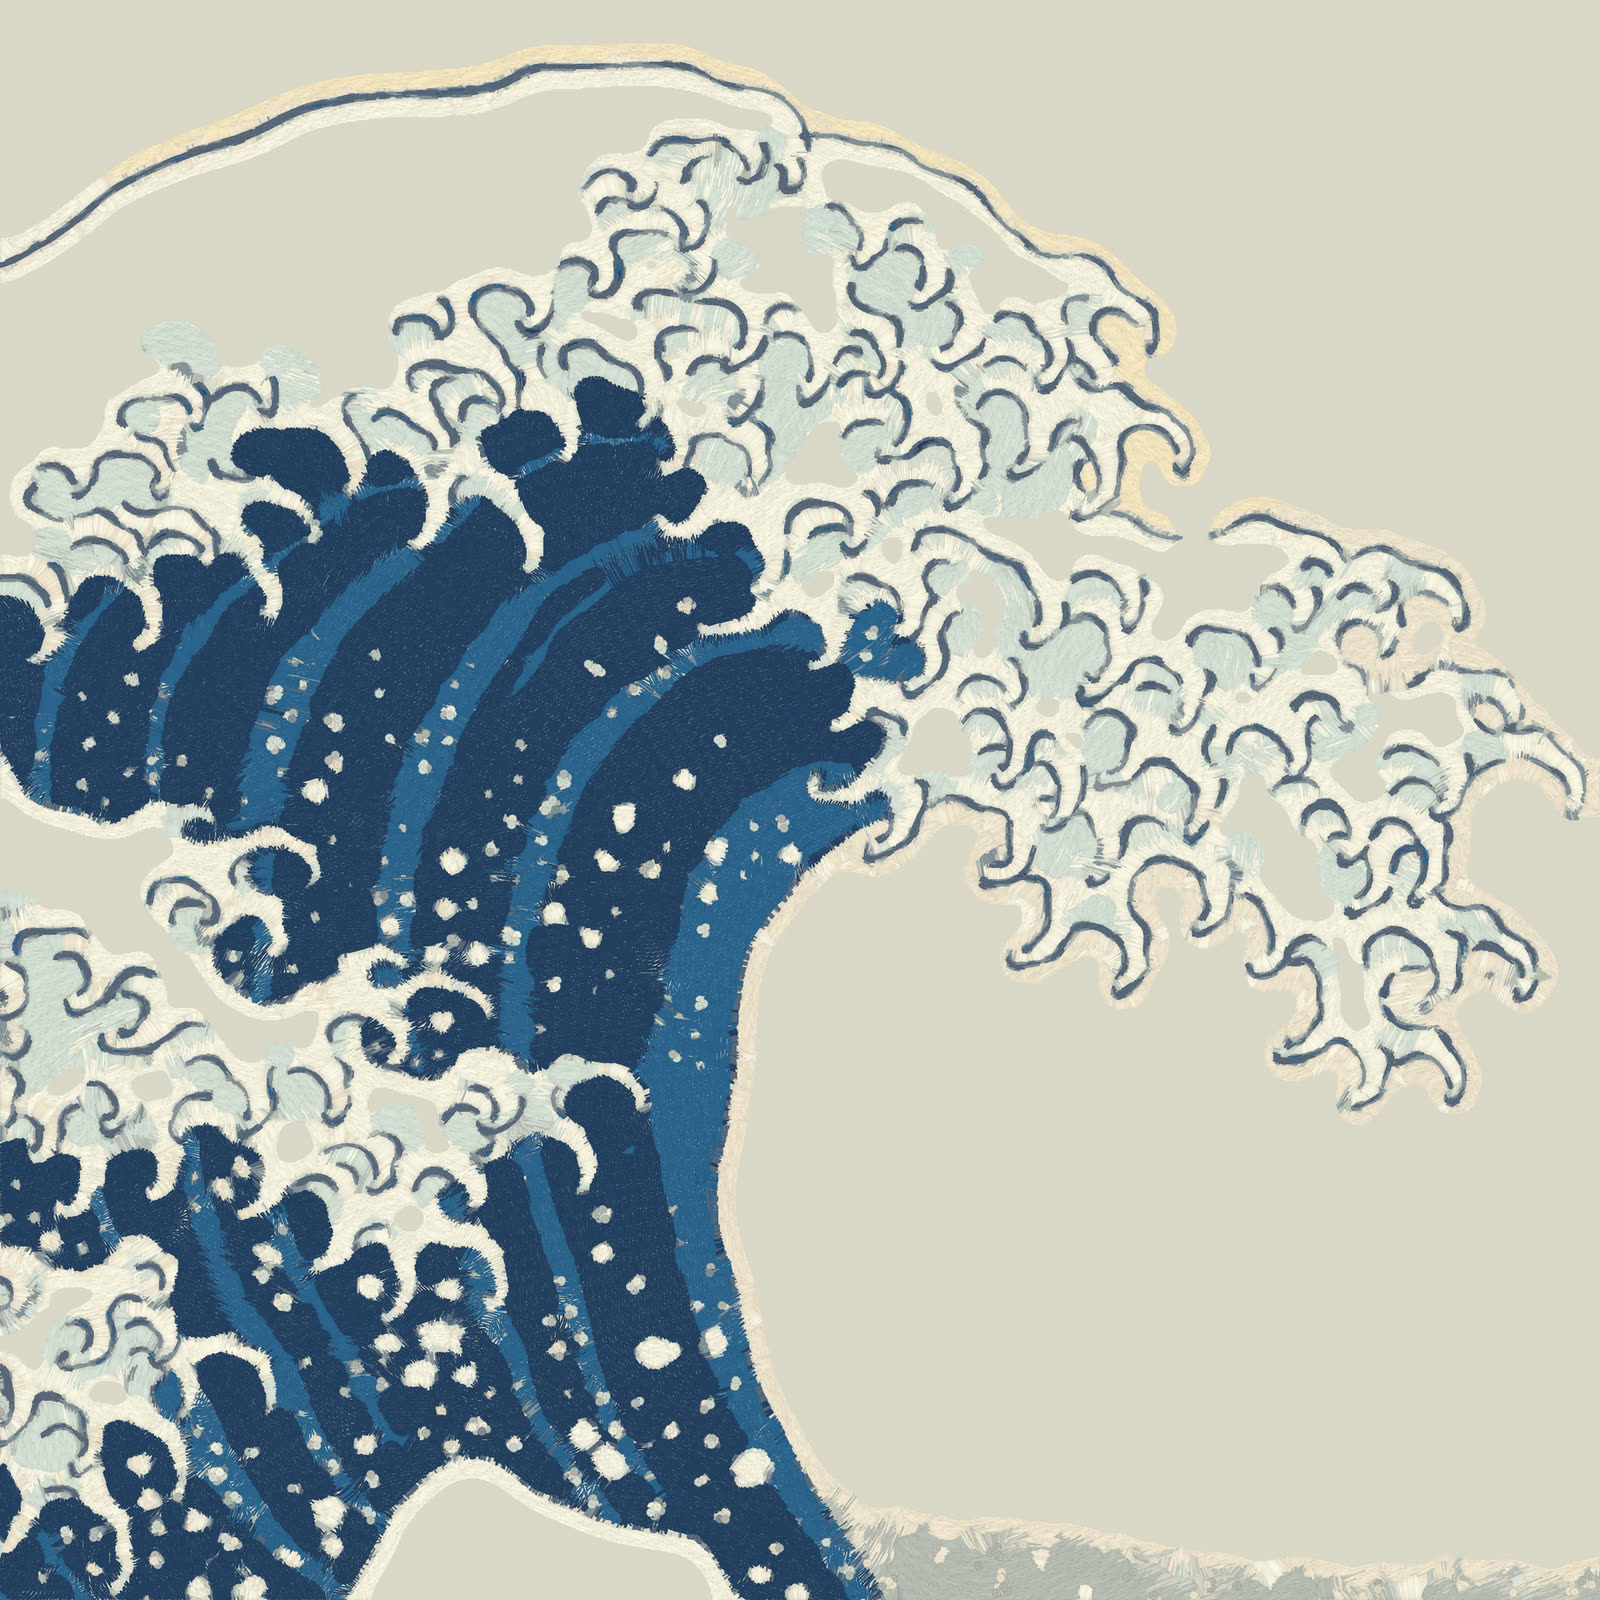
The print
Everything starts from the Metropolitan Museum's open access scan of Under the Wave off Kanagawa, accession JP1847, from the H. O. Havemeyer Collection. I cropped to the crest and claws, about a sixth of the print. Claws are where a stitch has the hardest job, because every finger bends and tapers.
A short Python script reads that crop before any embroidery exists. It reduces the print to nine colours, the way a real piece is limited to the threads you have on the table. Then it sorts every area by what a stitcher would do there: fill for broad shapes, satin for narrow ones, stem stitch along Hokusai's outlines, and small knots for the spray.
Pasta
My first idea was the obvious one for Substance Designer. Stamp hundreds of thousands of little strands with an FX-Map, about 245,000 of them, and let each strand follow the direction of the wave.
It looked like the Great Wave from across the room. Up close it looked like plastic sprinkles. I wrote "pasta" in my notes. Real thread lies flat, has soft edges and catches light along its length. Mine was a pile of hard rods.
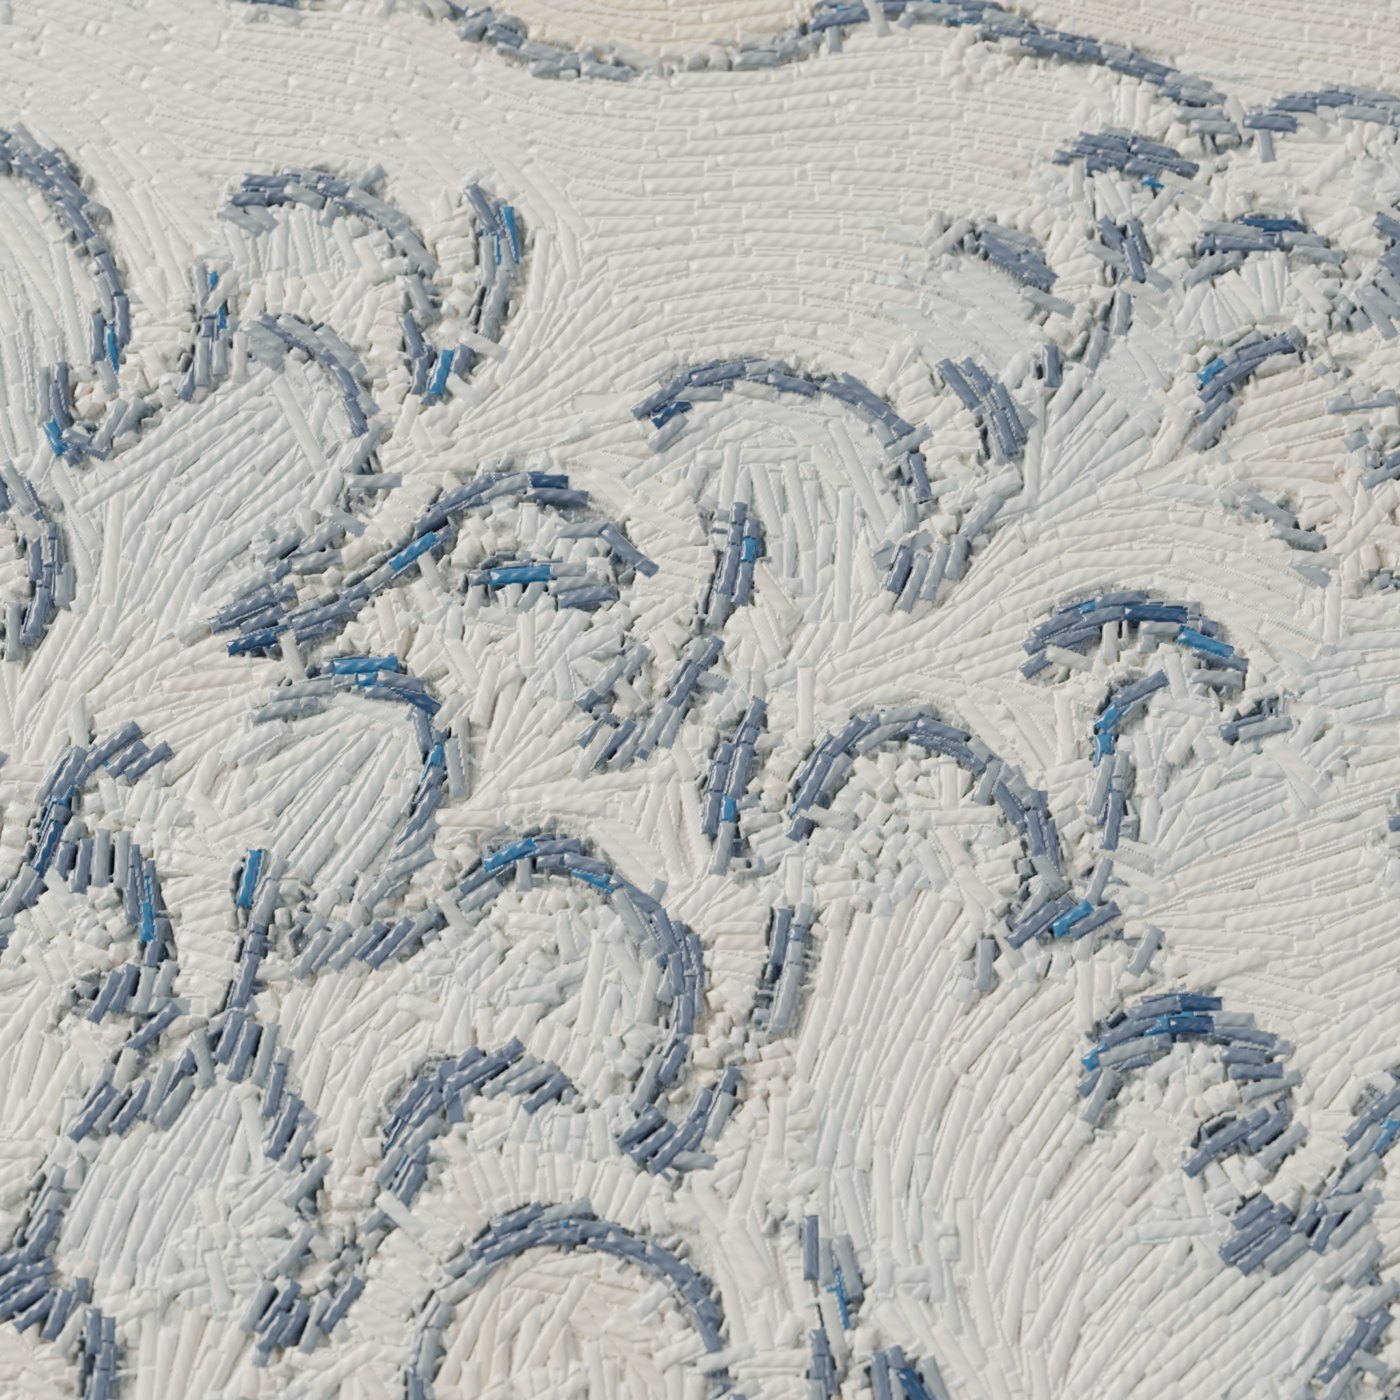
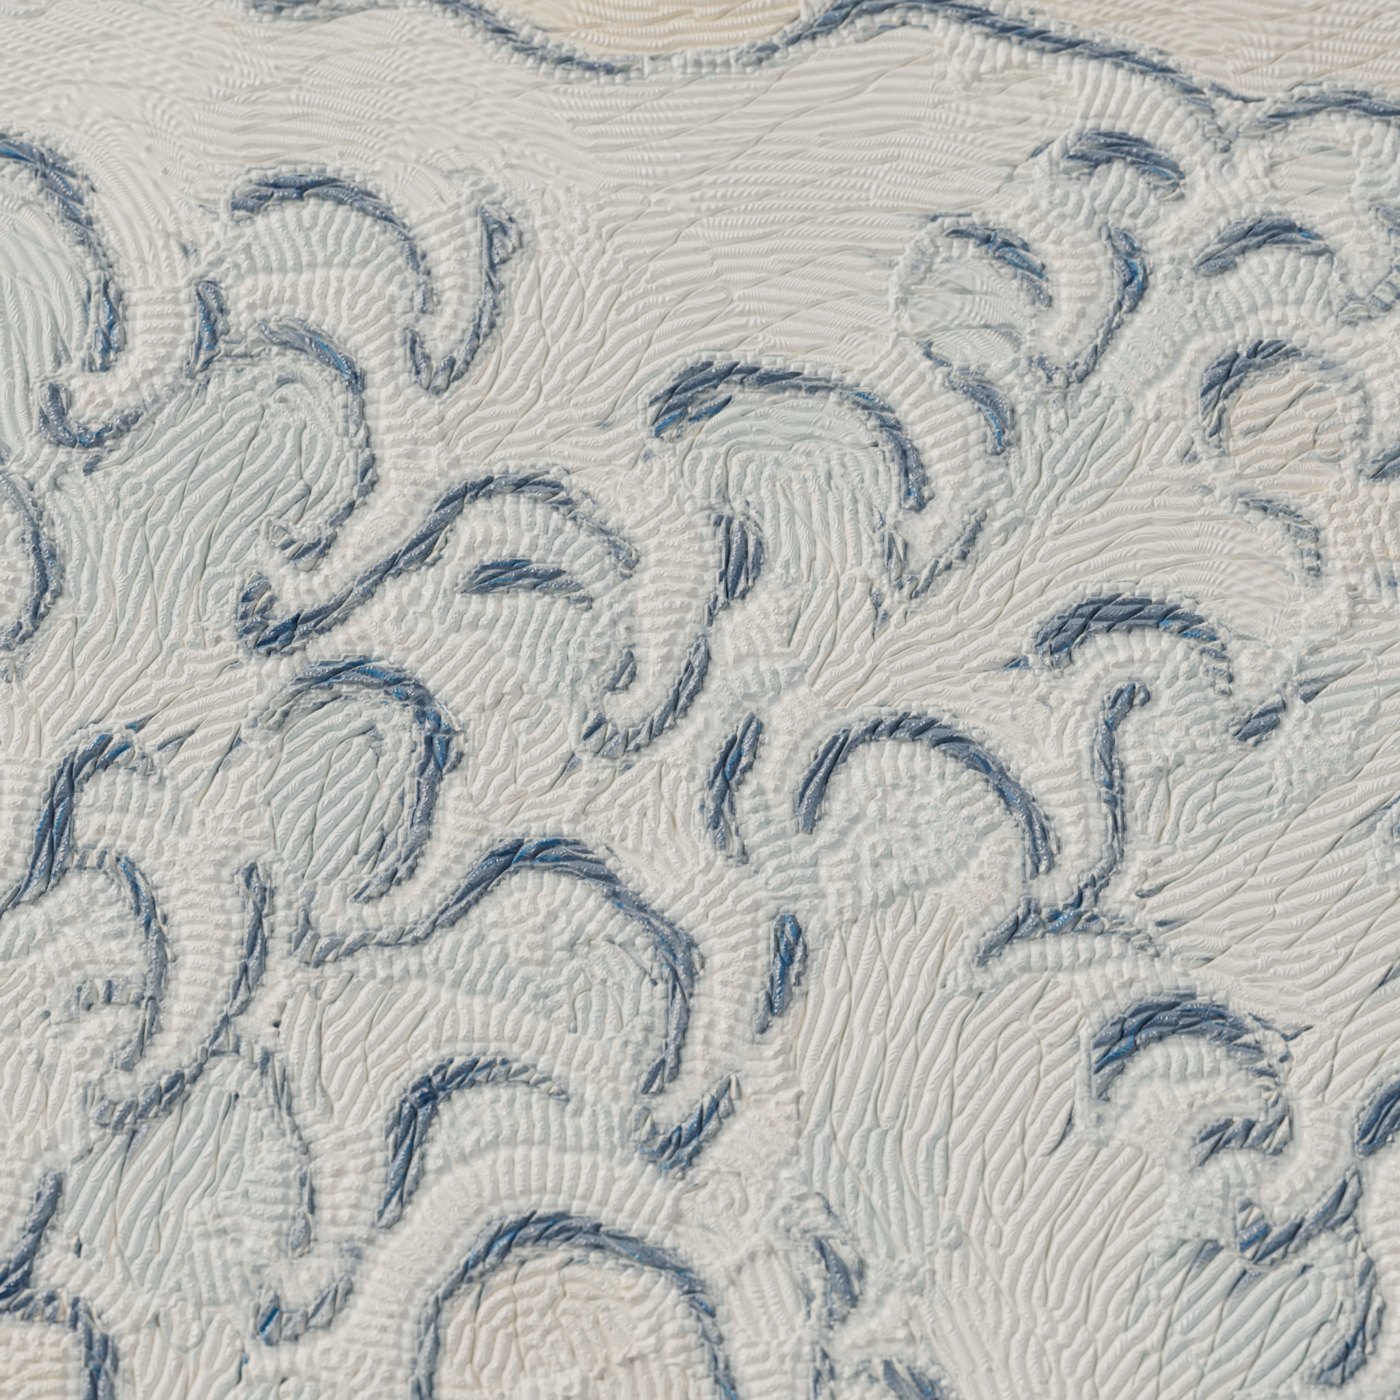
I spent the next few dozen versions on stacking, satin, sheen and height. Every one improved the render, and two problems never left. Stitches curved, because they were following a smooth field across their length, and real thread pulled tight between two needle holes is straight. A few stray stitches also crossed everything at the wrong angle, which no digitizer would ever do.
A digitizer
Machine embroidery isn't a texture. It's a list. A digitizer decides where every stitch starts and ends, in order, and the machine obeys. So I stopped generating strands and wrote one.
The script now cuts each shape into rows, solving for a coordinate that runs across each shape so rows stay evenly spaced as they bend. Each row is cut into straight stitches, staggered from one row to the next so holes don't line up into visible seams. Every stitch becomes four numbers: start x, start y, end x, end y. Those numbers go into a 512 by 512, 16-bit image. Stitch number 1,000 is simply pixel 1,000.
Designer reads that image back. The FX-Map stamps stitch i from pixel i, and each stamp carries its own address, so the shading passes know exactly which segment they're drawing.
That fixed both problems for good, because a stitch defined by two points can't curve and can't wander.
The wall
The maps looked strong at full frame, so I moved the camera in for the film, and every stitch turned to melted plastic.
At macro, one thread fills 50 to 76 pixels of a 1080p frame. My height map had about 12 pixels across that same thread. The renderer was inventing everything in between. A map sharp enough to hold up 1:1 would need about 46,000 pixels on a side.
I still ran the tests, changing one thing at a time on the same frame.
The first nine runs of this test were void. The camera was sitting inside its own near clip and every score matched, which is how I noticed.
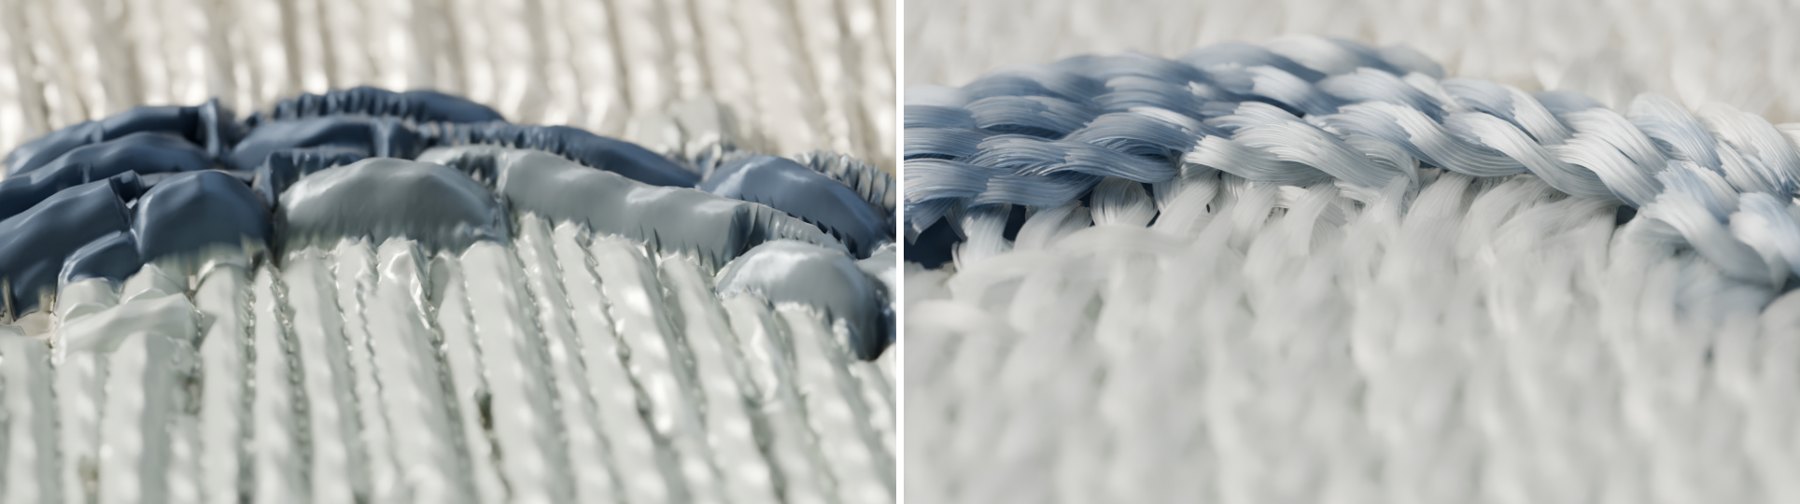
No texture was going to carry a close-up, because the detail was never in the map.
Thread
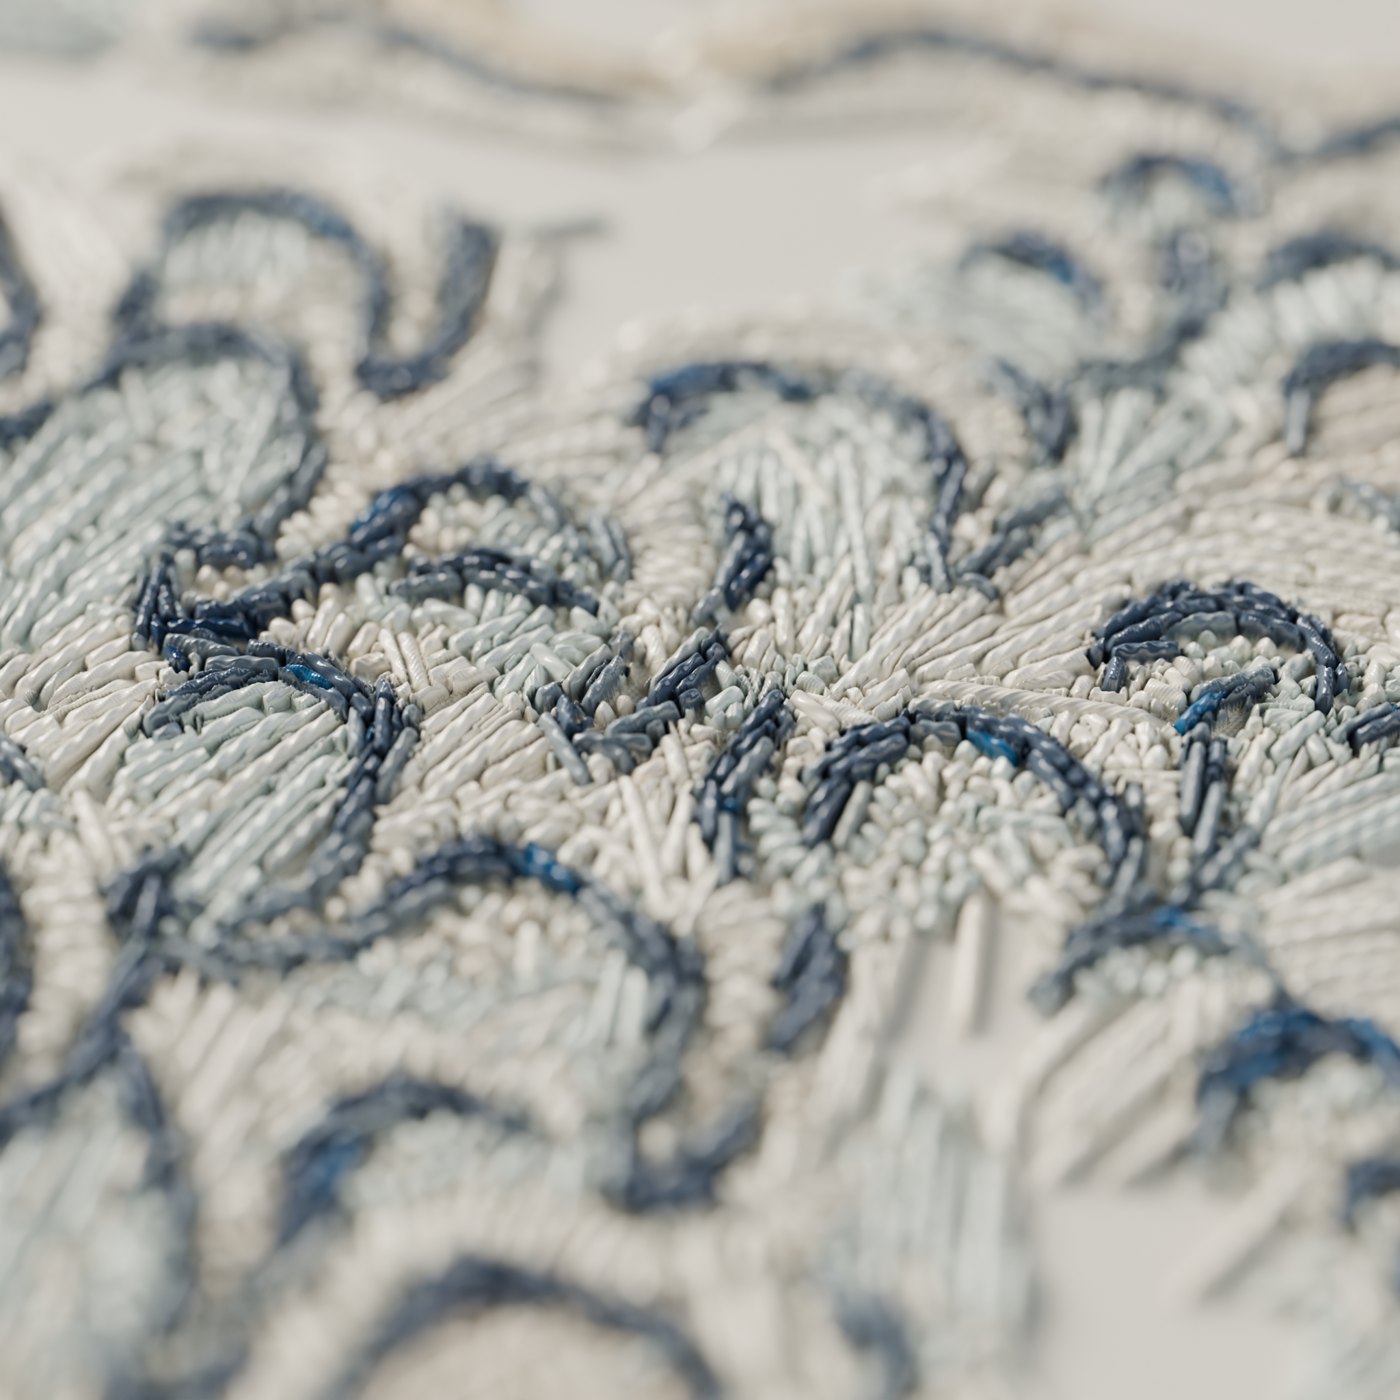
So each stitch became geometry in Blender: a bundle of hair curves running from one needle hole to the other. My first pass used two thick plies twisted hard. I compared it with a macro photo of real embroidery, and it was obviously a shoelace.
Machine thread under tension lies down. I rebuilt it as a flat band with almost no twist, then as round cords side by side, then ran a test to settle what the fine hatching in real stitching actually is.
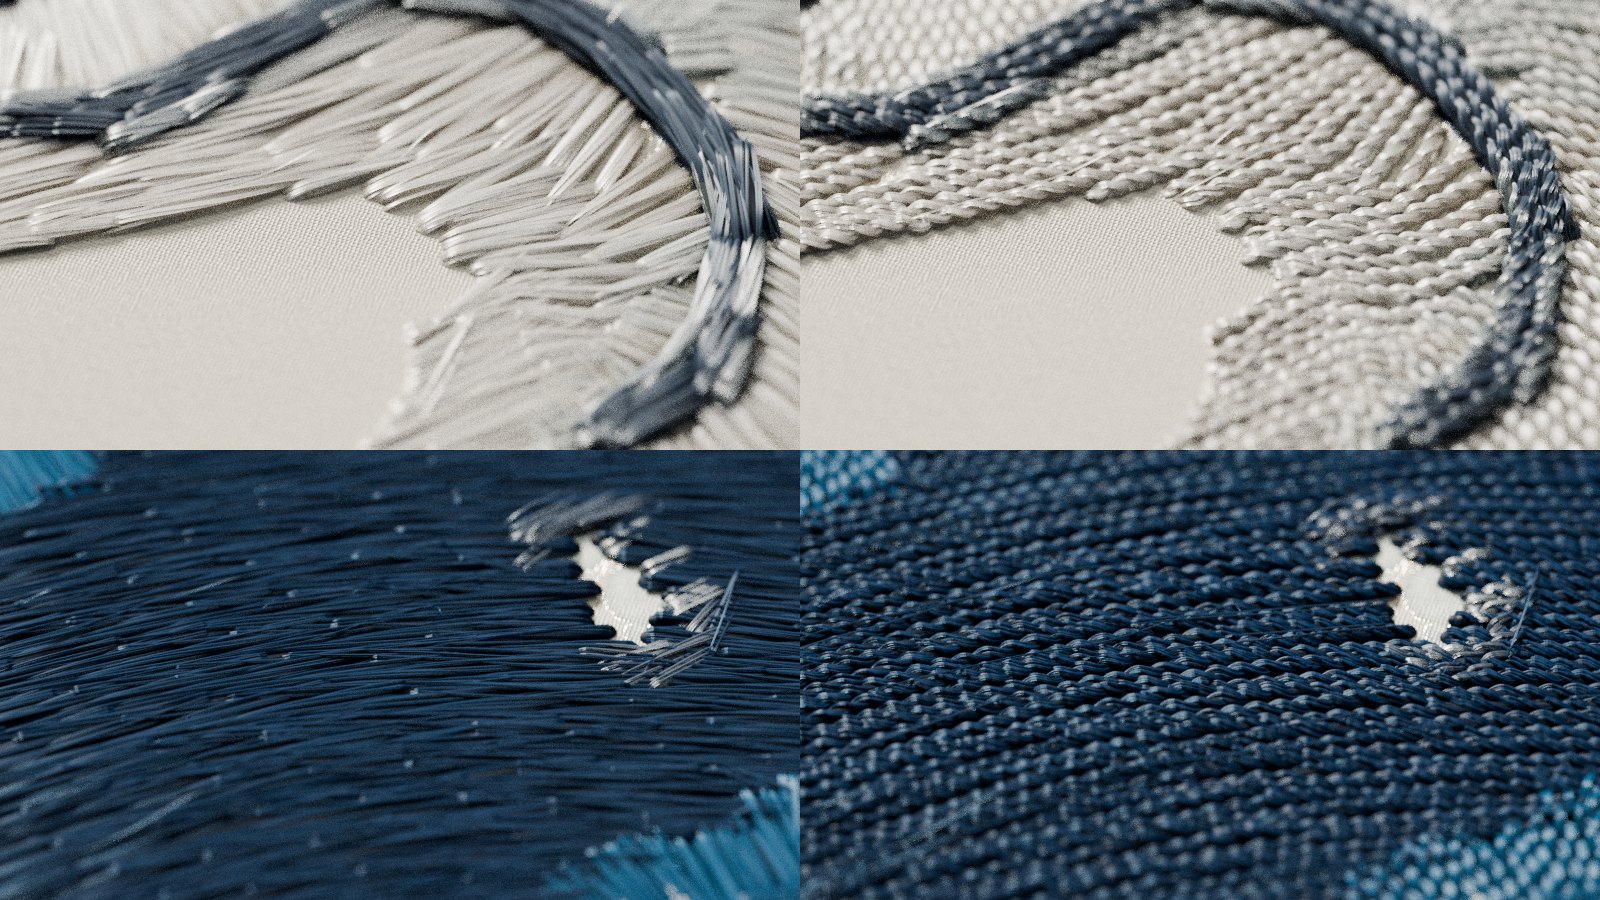
The answer sat between them. A shallow two-ply offset gives short diagonal marks along each thread without turning it into rope.
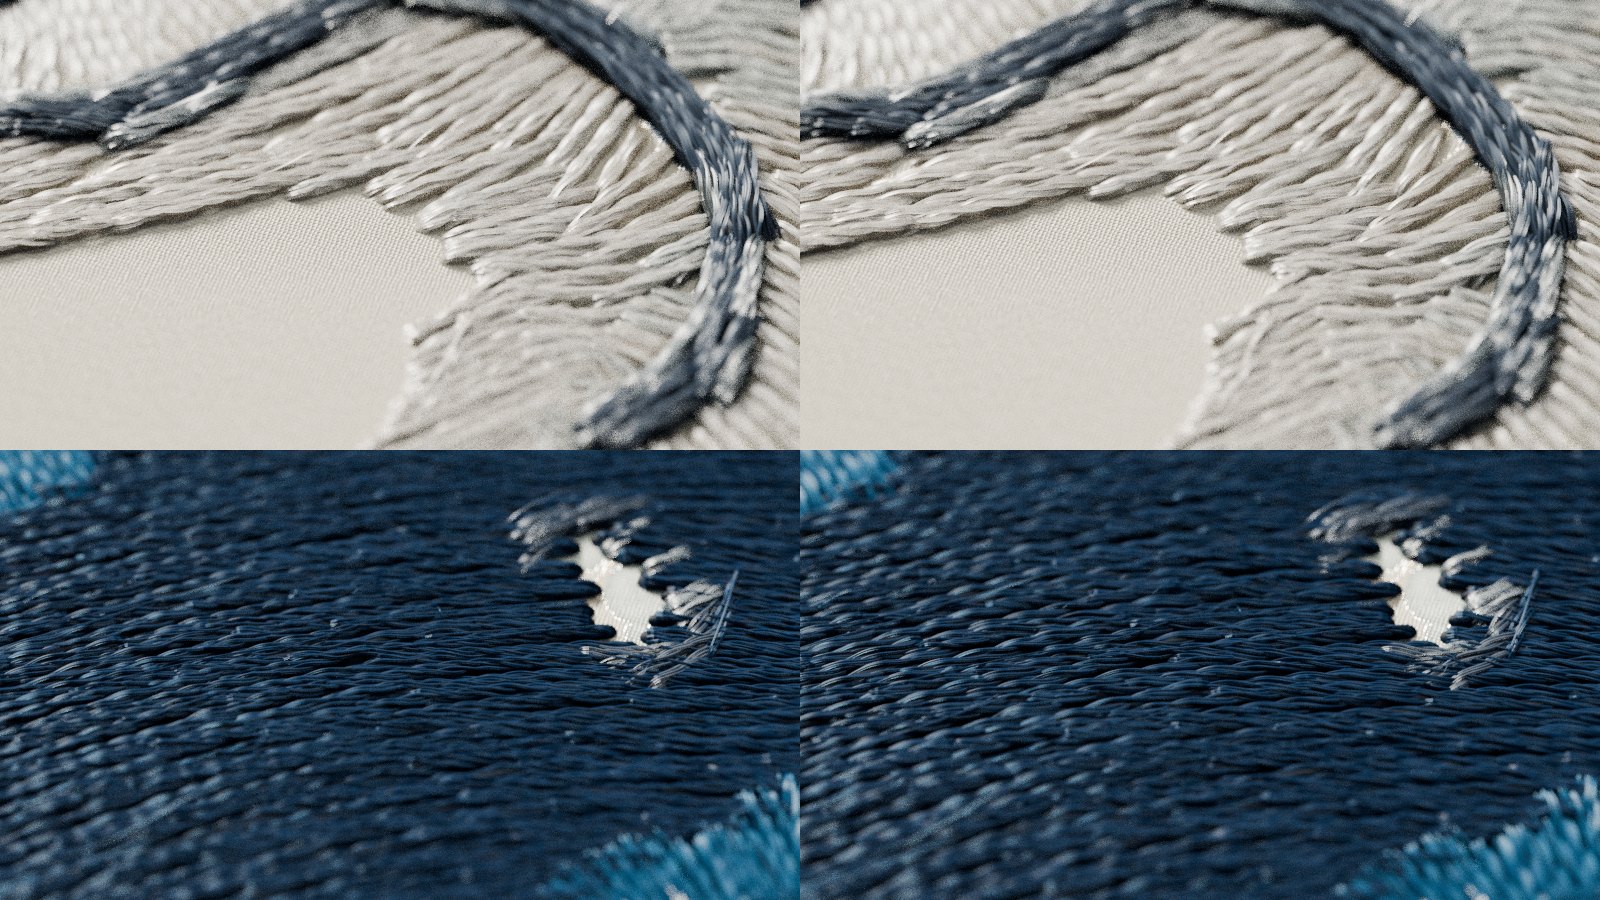
Then came the small dishonest details that make it believable. Each thread wanders a little. Tone varies by about 10 percent. Fifteen percent of stitches lean a few degrees and lift over a neighbour, so they cross instead of intersecting. Filaments lift out of the band and cut ends stand off the holes. Fill stitches lie flat with a small dimple at each hole, and satin domes across its width.
Up close the curves showed facets, because the fast curve shape is a chain of straight pieces and the joints catch light. Smooth curves fixed that at about three times the render cost, so only the shots that need it use them.
Light
I ran an automatic loop over the thread shader and let a score choose the settings. It picked a glossy coat and high reflectivity, and the score went up. The blue looked like plastic, and from then on the score only got to flag problems.
Hair shaders have a specific problem with dark thread. Their reflection is untinted, so navy turns grey wherever light hits it. The fix was to take the white reflection away from dark colours and give the shine to a tinted sheen, with some light passing through thin fibres.
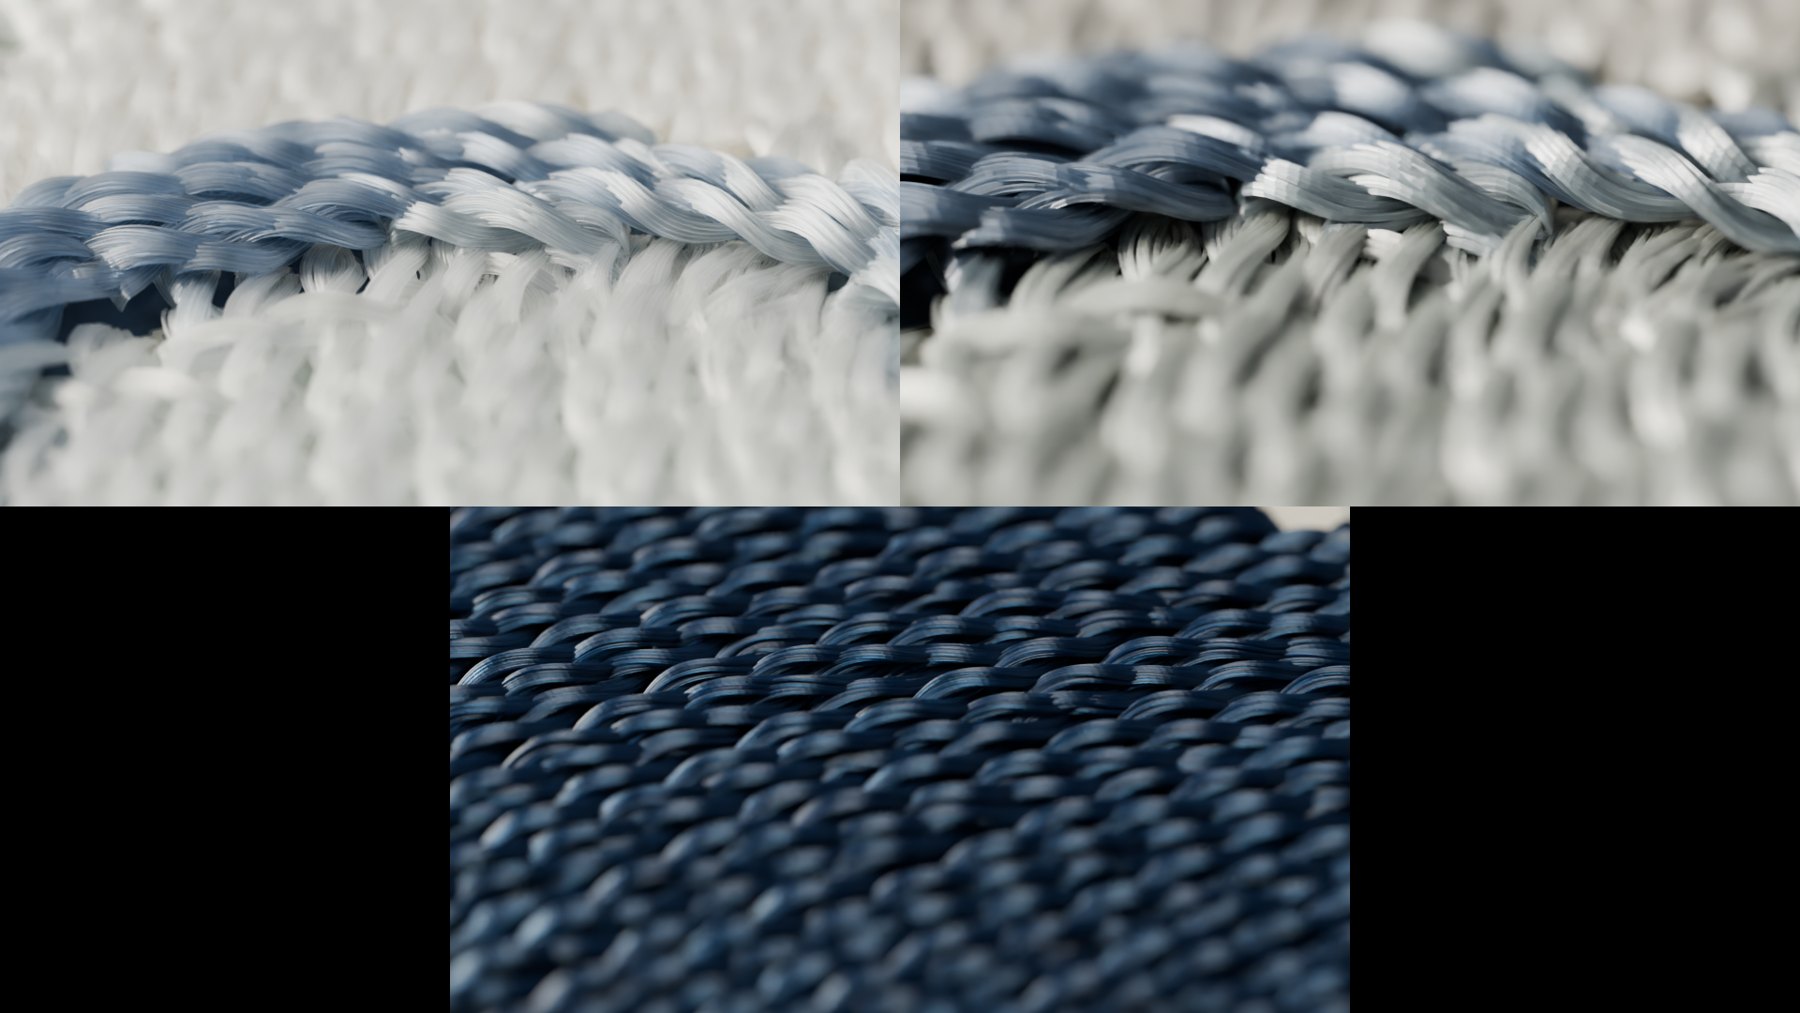
Light and cloth did as much as the shader. I replaced the blank plate with real woven linen, made from curves and pulled down where stitches grip it. I padded the foam so it stands proud of the blue. And I moved the key light low and hard, so every thread throws a shadow.
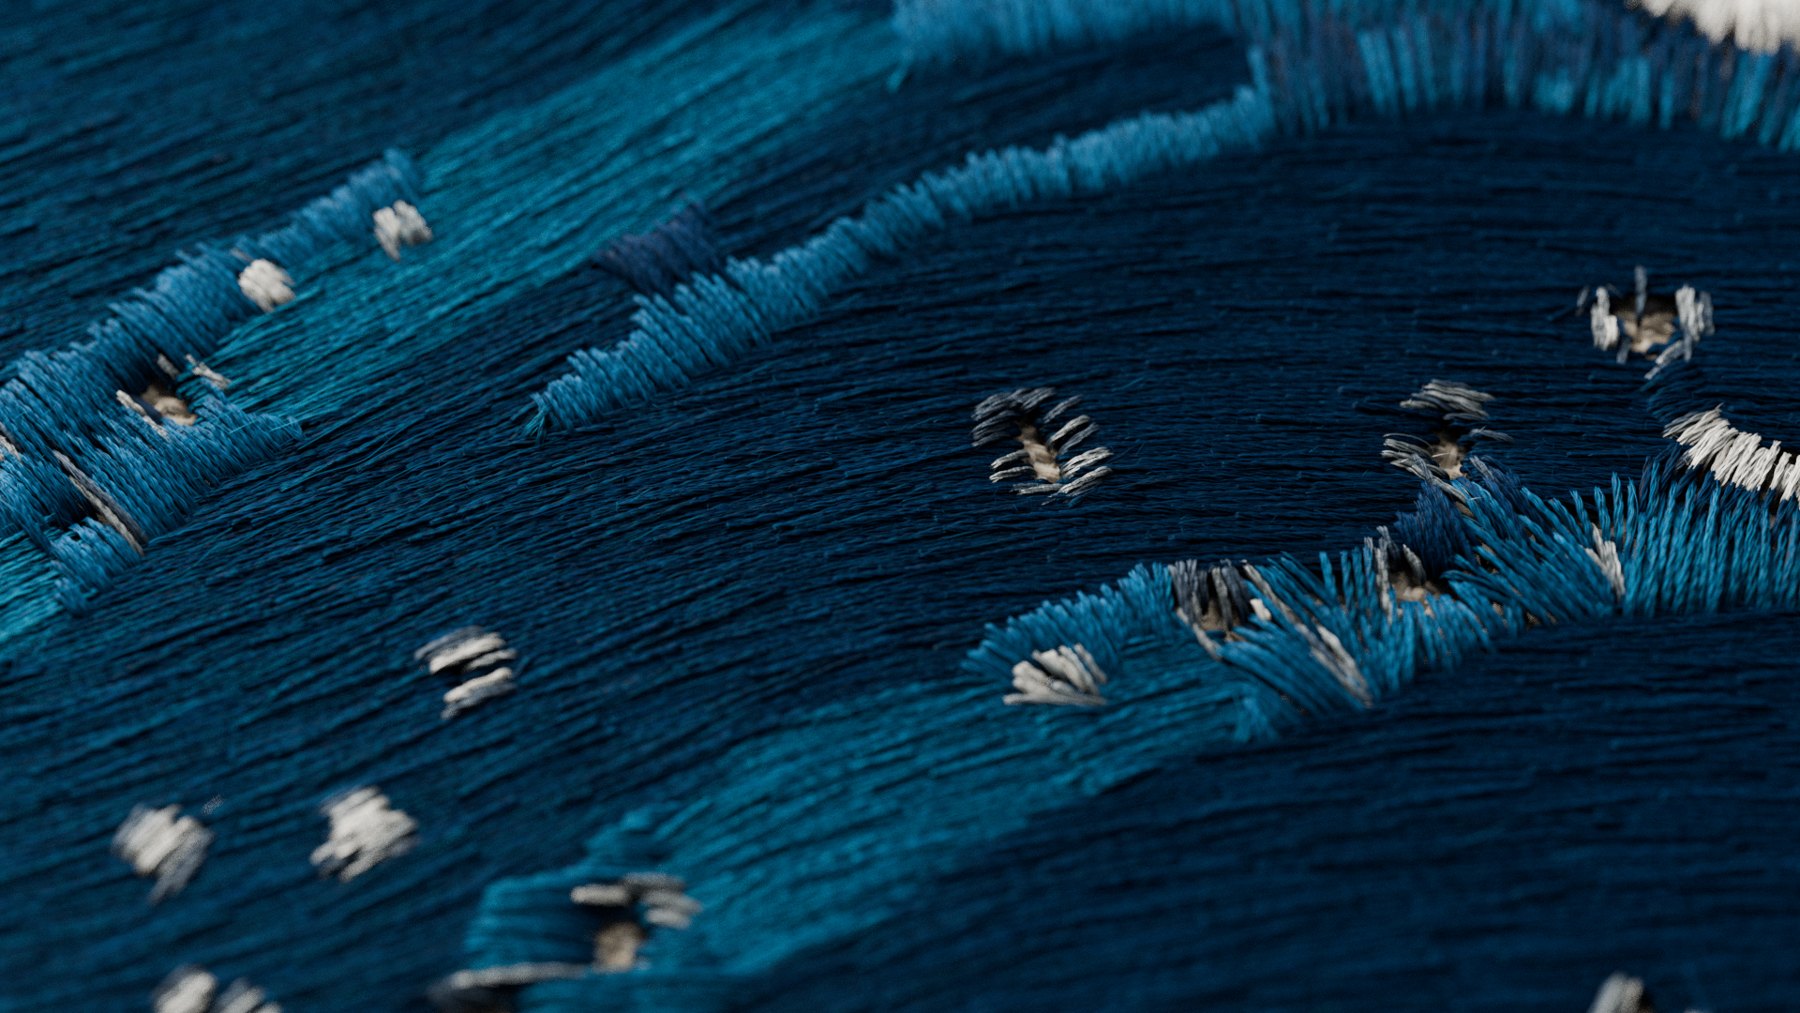
One bug is worth keeping in the story. Pale patches kept appearing on the dark outlines, and I'd been blaming the shader. Each stitch was taking its colour from a single point at its middle, and on a thin line that point often landed on the white foam next door. An outline is sewn with one thread, so now it's one colour.
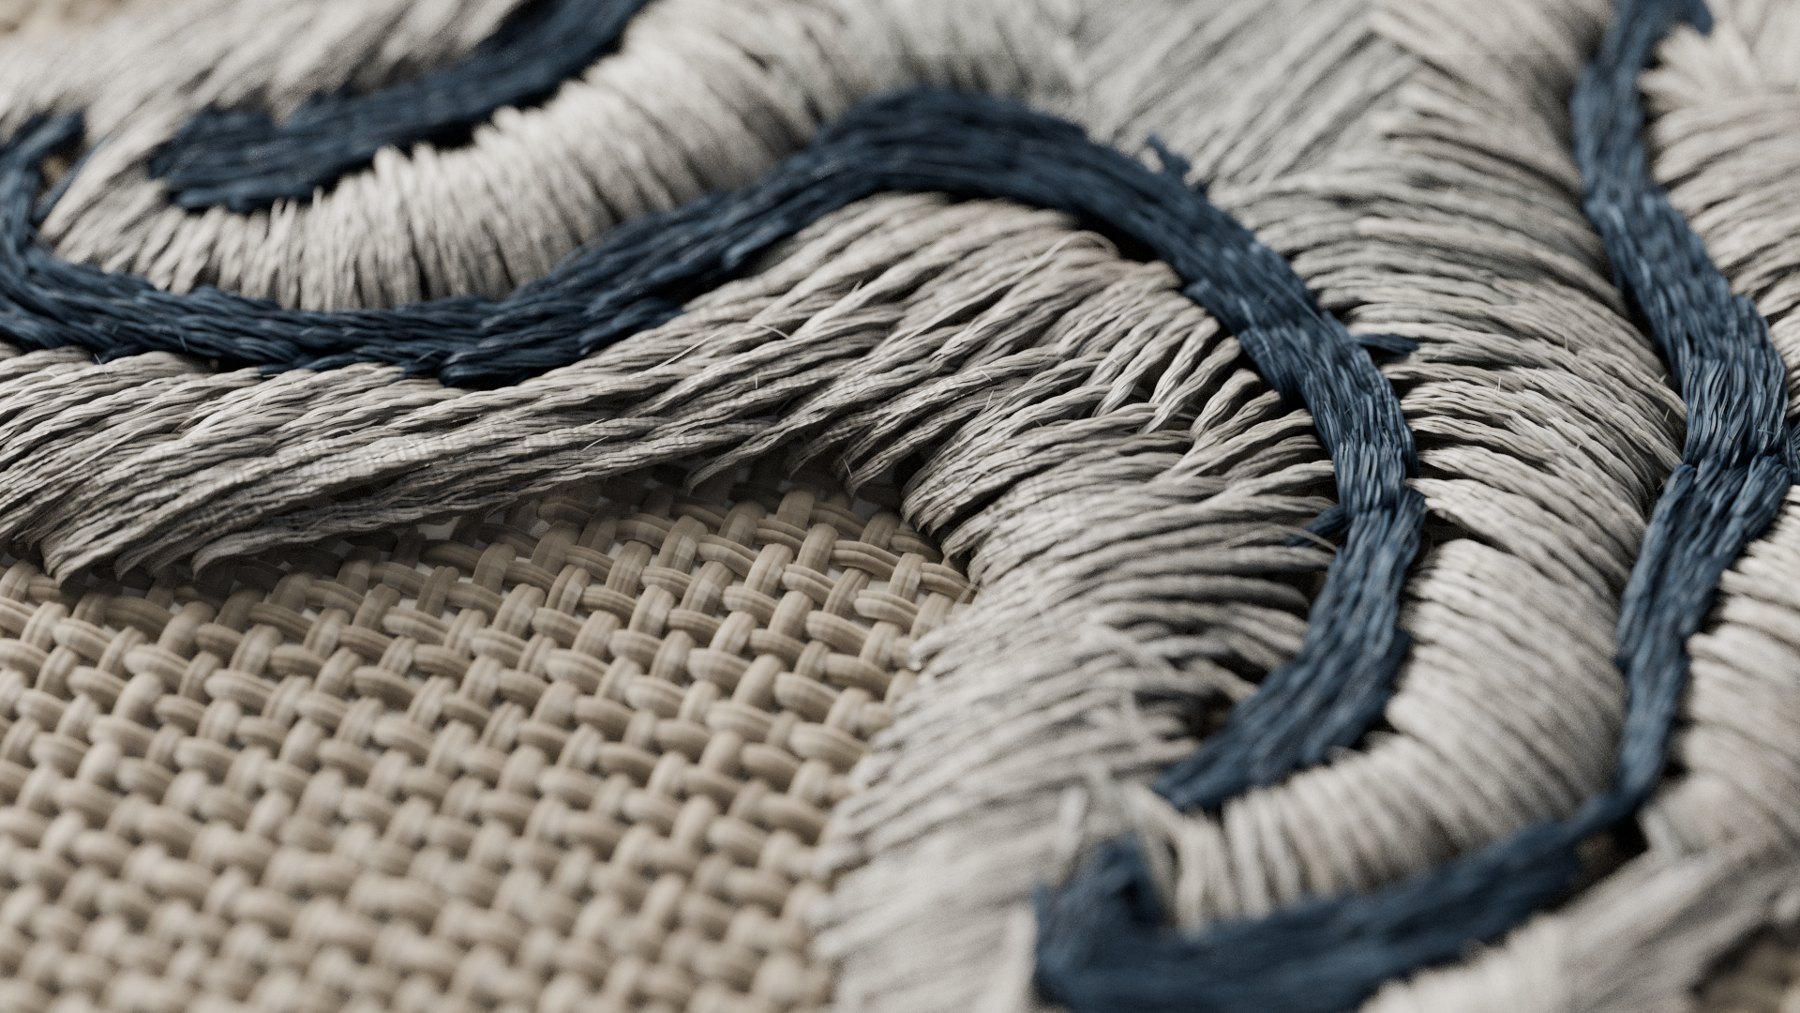
White isn't sky
Rendered whole for the first time, the wave looked wrong in a way that took me a moment to see. Much of its white body wasn't stitched at all.
In the print, the wave's white body and the pale sky behind it are very close in tone. To a colour-based script they looked like the same thing, so my very first step had marked the top of the wave as empty cloth, and it stayed that way through every version until the film. The stray circle above the crest came from the same confusion, a scrap of pale sky picked up past the outline.
The fix floods outward from the true sky and stops at the wave's outline. Everything the flood can't reach is wave. That added about 28,700 white stitches.
White on white was too smooth, though. My first answer copied blue curls from the claws, and it looked terrible. My second made them white and it was still wrong. The version that stayed is 146 padded satin ribbons that follow the flow of the wave, taper, hook at the tip and stack at three heights. They break up the white with shadow alone.
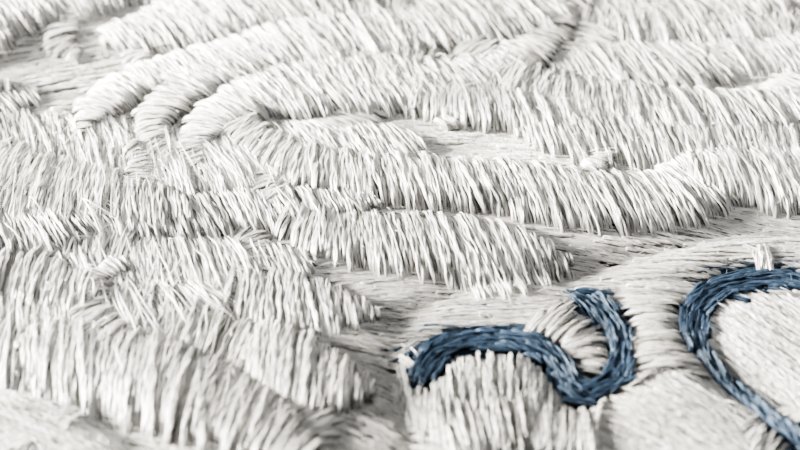
These ribbons are my invention. They aren't in Hokusai's print.
The film
The first storyboard was seven beautiful macro shots with nothing to say and no way to read the design. The second buried everything in shallow focus. So I started again with a shot hunt: fourteen deliberate frames, deep focus, subjects placed on thirds, and a mix of close, mid and full.
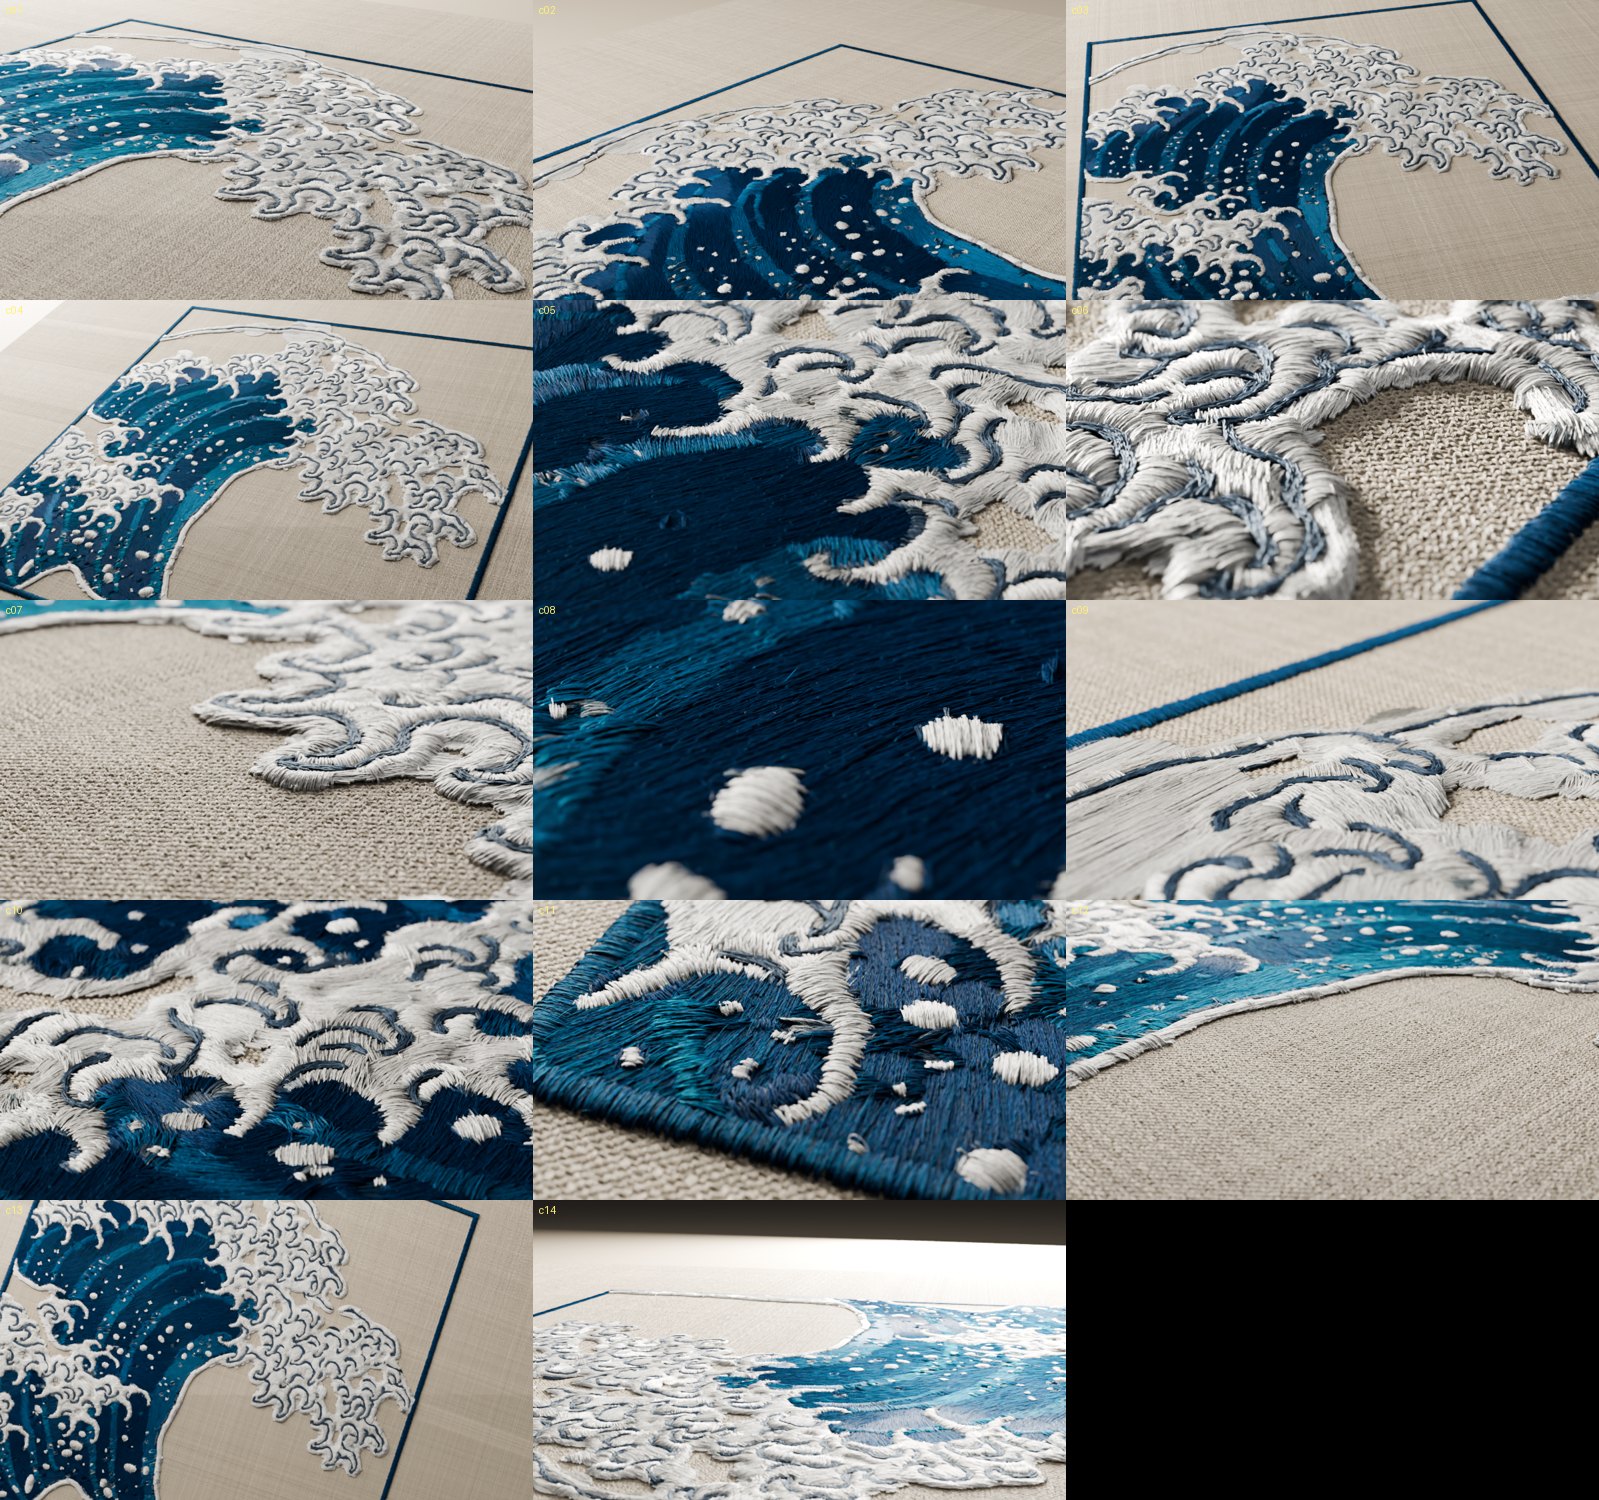
The opening took the longest. I wanted a rack focus, and I built hunting, back-and-forth focus that felt like a nervous camera. Then I went and studied how Alex Roman handles it in The Third & The Seventh. Around the 48 second mark the camera glides past real objects while focus moves from one layer to another. It only works because there's physical depth to travel through, and a flat embroidery has none.
So I gave it some. Loose thread tails rise from the cloth near the lens, and the shot opens sharp on them with the wave as soft colour behind. Focus then makes one clean pull past them onto the blue.
Every other choice in the edit came from removing things. A shot along the fabric edge took about twenty test frames to find and still didn't work, so it's gone. All the moves were eased in and out, and it made the film feel like a screensaver, so they now run at a constant speed. A swinging crane turned out to be a bug, because a look-at camera is unstable pointing straight down. The last shot now does one simple thing for 11 seconds: it rises straight up, creeping away from the stitches before it builds speed, until the whole design lands.
What Designer did
This started as a Substance Designer project, and I should be exact about how it ended.
The Designer graph is real. It has 11 Pixel Processors and 7 FX-Maps, about 4,700 function nodes, and it stamps every digitized stitch into 8K maps. For a long time it was the whole render. Then the close-ups forced me into Blender, and in the end every frame of this film comes from Blender curves. No Designer output appears in a final frame.
The stitch list came from a Python digitizer. Designer read that list, and so did Blender. Thread, linen, padding, shading and light are all Blender, and the grade is After Effects.
Of the 163,385 stitches, 97,321 come from digitizing the print. The other 66,064 are my additions in code: the white body, the ribbons, blue patches under the spray, rebuilt spray dots and the border.
So the film is a CG piece that began in Designer. It isn't a Designer piece, and I'd rather say that here than let the title imply otherwise.
Numbers
Credits: Under the Wave off Kanagawa by Katsushika Hokusai, ca. 1830 to 1832. The Metropolitan Museum of Art, H. O. Havemeyer Collection, Bequest of Mrs. H. O. Havemeyer, 1929. Public domain. Table texture from Poly Haven (CC0). Digitizer in Python. Look development in Substance 3D Designer. Thread, cloth and render in Blender. Finished in After Effects.